Repairing exterior RV walls can seem daunting. It’s actually doable with the right steps.
RV walls face wear and tear from weather and travel. Cracks, dents, and water damage are common issues. Fixing these problems not only improves appearance but also prevents further damage. Whether you’re dealing with fiberglass, aluminum, or other materials, proper repair techniques are essential.
This guide will help you understand the steps and tools needed. With patience and care, you can restore your RV walls to their former glory. Get ready to learn how to fix those pesky wall issues and keep your RV looking great. Let’s dive into the repair process.

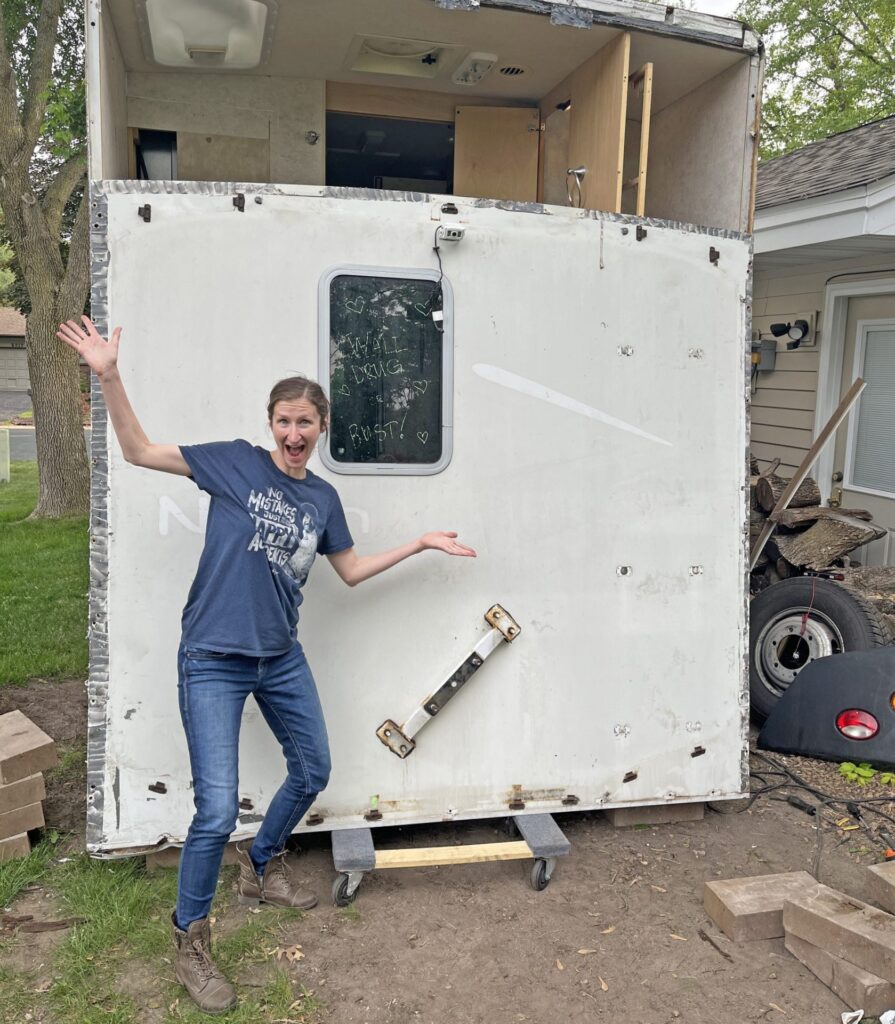
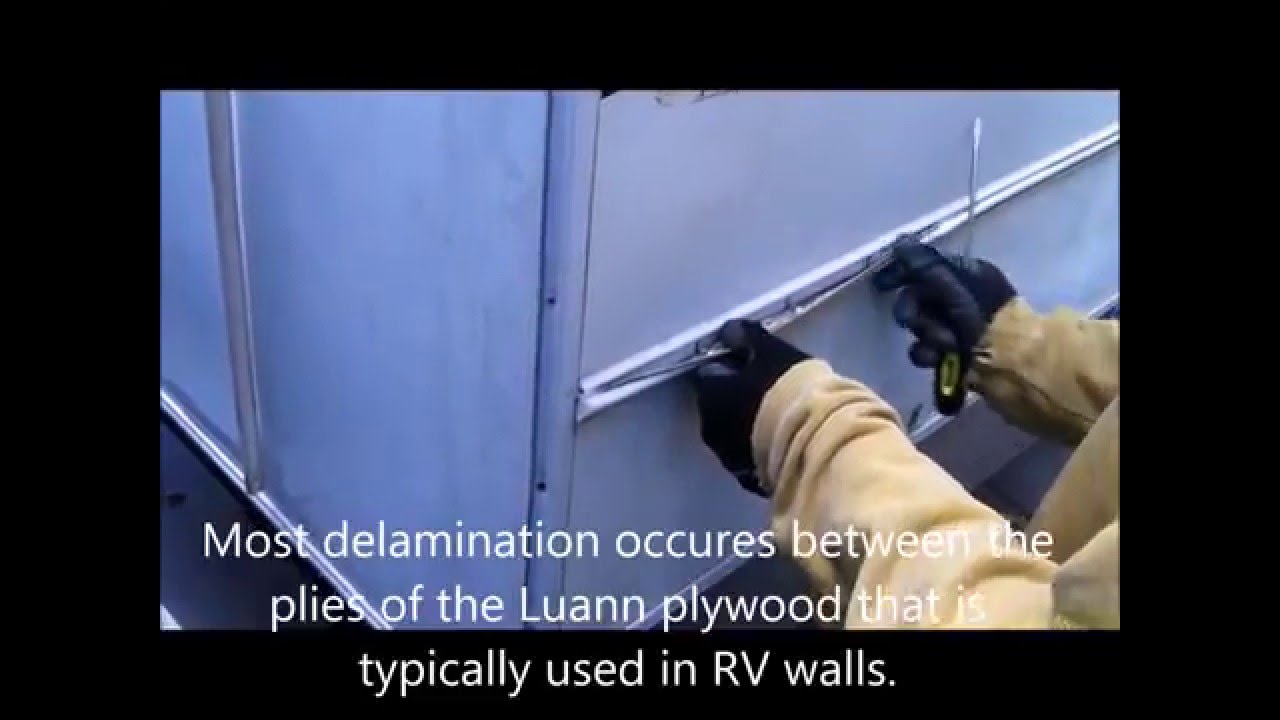
Credit: www.youtube.com
Assessing Damage
Before you start repairing your RV’s exterior walls, it’s crucial to assess the damage. Knowing the extent of the damage helps you plan the repair process better. It ensures you gather the right tools and materials. This step saves time and effort later. Let’s dive into how to assess the damage effectively.
Identifying Issues
Begin by inspecting the RV walls for visible signs of damage. Look for cracks, dents, or holes. Pay attention to areas near seams and joints. Check for water stains or discoloration. These could indicate water damage. Use a flashlight to see in poorly lit areas. Take note of any soft spots. Press gently to identify weak areas. These spots may need immediate attention.
Tools Needed
Gather the necessary tools before you start. You’ll need a flashlight for better visibility. A ladder helps you reach higher areas. Use a moisture meter to detect hidden water damage. A putty knife is useful for scraping off old paint or sealant. Have a screwdriver on hand for removing fixtures. Sandpaper smooths out rough surfaces. Lastly, keep a notepad and pen ready. This helps you document the issues found during the inspection.
Credit: www.youtube.com
Preparing The Surface
Preparing the surface of your RV walls is crucial. A well-prepped surface ensures a smooth repair process. It also helps achieve a lasting finish. Let’s dive into the steps.
Cleaning The Area
Start by cleaning the area thoroughly. Use a mild detergent with water. Scrub away dirt, grime, and debris. This removes contaminants that may hinder the repair. Rinse the area well. Allow it to dry completely.
Sanding The Surface
Once the area is clean, it’s time to sand. Sanding smooths out rough spots. It also helps new materials adhere better. Use fine-grit sandpaper. Sand the damaged area gently. Avoid over-sanding. This can create uneven surfaces. Wipe away any dust. Your surface is now ready for repair.
Patching Holes
Fixing exterior RV walls involves patching holes effectively. Clean the area, apply filler, and sand smooth. Finally, paint to protect and blend with the surface.
Repairing the exterior walls of your RV can seem daunting, but it doesn’t have to be. Patching holes, whether small or large, is a critical part of maintaining your RV’s integrity and appearance. With the right approach, you can ensure your RV walls stay strong and look great. Here’s how you can tackle both small and large holes.Filling Small Holes
Small holes might seem insignificant, but they can let in moisture, which can lead to bigger problems down the road. Here’s how you can fill them effectively: 1. Clean the Area: Start by cleaning around the hole. Remove any dirt or debris so that your patch will adhere properly. 2. Use Epoxy Putty: Epoxy putty is great for small holes. Roll a small piece of putty between your fingers until it’s pliable. 3. Apply the Putty: Press the putty into the hole, smoothing it out with a putty knife. Ensure it’s flush with the wall surface. 4. Sand the Surface: Once the putty is dry, sand it down until it’s smooth. This will help the patch blend in with the rest of the wall. 5. Paint Over: Apply a coat of paint that matches your RV’s exterior. This will protect the patch and make it invisible. When I first tackled small hole repairs on my RV, I was amazed at how straightforward it was. The key is to be thorough with each step.Repairing Large Holes
Large holes require more effort, but with patience, you can achieve a professional result. Here’s how: 1. Assess the Damage: Determine the size of the hole. If it’s too large for a simple patch, you may need to replace a section of the wall. 2. Cut a Patch: Cut a piece of material that matches the wall’s exterior to cover the hole. You can use fiberglass or aluminum, depending on your RV’s material. 3. Attach the Patch: Secure the patch with rivets or screws. Ensure it’s firmly in place to avoid future issues. 4. Seal the Edges: Use a sealant around the edges of the patch to prevent water from seeping in. Be generous with the sealant to ensure a tight seal. 5. Sand and Paint: Sand the edges of the patch to blend it with the existing wall. Then, paint over it to match the rest of your RV. When I repaired a large hole in my RV, I found that taking my time made all the difference. Each step needs attention to detail to ensure the repair lasts. Have you ever tackled a repair like this? What challenges did you face, and how did you overcome them? Share your experiences and tips in the comments below.Replacing Panels
Replacing panels on exterior RV walls involves removing damaged sections and fitting new ones. Ensure the new panels match the RV’s design and color.
Replacing exterior RV panels can seem like a tough job. It is manageable with the right steps. This process involves removing damaged panels and installing new ones. Let’s break it down.Removing Damaged Panels
First, inspect the damaged area. Identify the panels that need replacement. Use a screwdriver to remove screws or nails holding the panel. Gently pry the panel loose. Take care not to damage the surrounding area. Clean the exposed surface. Remove any debris or old adhesive.Installing New Panels
Measure the space where the new panel will go. Cut the new panel to fit. Apply adhesive to the back of the panel. Place the panel onto the RV wall. Press firmly to ensure it sticks. Use screws or nails to secure the panel. Check for gaps or uneven areas. Seal the edges with caulk to prevent water damage. Allow the adhesive and caulk to dry completely. Replacing RV panels can restore your vehicle’s appearance. Follow these steps for a smooth repair process. “`Sealing And Waterproofing
Sealing and waterproofing your RV’s exterior walls is crucial. It prevents water damage and extends the lifespan of your RV. Proper sealing keeps moisture out. Waterproofing adds an extra layer of protection. Both steps ensure your RV stays in good shape.
Applying Sealant
First, clean the surface. Remove dirt and old sealant. Use a scraper and rag. Make sure the area is dry. Choose a high-quality RV sealant. Apply it evenly along seams and edges. Use a caulking gun for precision. Smooth the sealant with a finger or tool. Let it dry completely. Check for gaps or missed spots.
Waterproofing Techniques
Waterproofing adds an extra layer of defense. Use a quality waterproofing spray. Apply it to the RV walls. Make sure the surface is clean and dry. Hold the spray bottle 6 inches from the wall. Spray evenly in a sweeping motion. Let the first coat dry. Apply a second coat for best results. Inspect the walls regularly. Reapply the spray as needed.
Painting The Exterior
Painting the exterior of your RV can give it a fresh look. It also protects the walls from the elements. This section will guide you through the process. It’s easier than you think!
Choosing Paint
Selecting the right paint is crucial. Use paint designed for exterior surfaces. It should withstand weather conditions. Choose a color that matches your RV’s style. Consider using a high-quality primer first. This helps the paint stick better. It also makes the color look vibrant.
Applying Paint
Before you start, clean the RV walls. Remove dirt, grime, and old paint flakes. Use a mild detergent and a soft brush. Rinse thoroughly and let it dry. Next, use painter’s tape to cover areas you don’t want to paint. This includes windows and lights.
Apply the primer first. Use a roller for large areas and a brush for edges. Let it dry completely. Now, you can start painting. Use smooth, even strokes. Apply multiple thin coats for the best results. Let each coat dry before adding the next. Once done, remove the painter’s tape carefully. Your RV walls will look brand new!
Maintaining Repairs
Maintaining repairs on your RV’s exterior walls is crucial. It ensures longevity and reduces costly damage. Regular upkeep can keep your RV looking great. Let’s explore key ways to maintain these repairs effectively.
Regular Inspections
Regular inspections are vital for your RV’s health. Check for cracks, dents, and water damage. Inspect the seams and seals for wear and tear. Use a flashlight to spot hidden issues. A thorough inspection helps catch problems early.
Preventive Measures
Apply a protective sealant to the exterior walls. This guards against moisture and UV rays. Clean the walls regularly to remove dirt and grime. Use mild soap and water for cleaning. Avoid harsh chemicals that may damage the surface.
Store your RV in a covered area or use an RV cover. This shields it from harsh weather conditions. Address minor issues immediately to prevent them from worsening. A little maintenance goes a long way in preserving your RV.

Credit: thenewlighterlife.com
Safety Tips
Ensure safety by wearing protective gear, such as gloves and goggles. Use sturdy ladders and secure tools properly. Keep the workspace clean to avoid accidents.
Repairing exterior RV walls can be a daunting task. Safety should be your top priority. Following these safety tips will help you avoid accidents and injuries.Protective Gear
Wearing protective gear is crucial. Always use gloves to protect your hands from sharp edges and harsh chemicals. Wear safety glasses to shield your eyes from dust and debris. A dust mask is essential to prevent inhaling harmful particles.Handling Tools Safely
Using tools correctly is important. Make sure to read the manual before using any tool. Keep your tools clean and in good condition. Use the right tool for the job to avoid accidents. Always cut away from your body to prevent injuries. Store tools safely after use to avoid tripping hazards. “`Frequently Asked Questions
What Material Is Used For Rv Exterior Walls?
RV exterior walls are typically made from fiberglass, aluminum, or composite materials. These offer durability and insulation.
What Is The Best Thing To Use For Rv Walls?
Use lightweight, durable materials like plywood, MDF, or vinyl panels for RV walls. These options are easy to install and maintain.
How To Repair Damaged Fiberglass On Rv?
Clean the area, sand it down, apply fiberglass repair kit, let it cure, and sand it smooth. Paint to finish.
Does Rv Delamination Need To Be Repaired?
Yes, RV delamination should be repaired promptly. Delamination affects structural integrity and can lead to costly damage. Fixing it early prevents further issues.
Conclusion
Repairing exterior RV walls can seem daunting, but it’s manageable. Follow the steps carefully, use the right tools, and take your time. Regular maintenance prevents bigger issues. Check your RV walls periodically. Address problems early to save money and hassle.
Happy travels with your well-maintained RV!