Mounting solar panels on your RV roof is easier than you think. It provides a reliable power source while you’re on the road.
Solar panels are a great addition to any RV. They offer clean, renewable energy and can save you money. But how do you install them on your RV roof? The process may seem complex, but with the right steps, it becomes manageable.
You’ll need to consider your roof type, panel size, and mounting method. This guide will walk you through each step. By the end, you’ll have a solar-powered RV ready for adventure. Ready to get started? Let’s dive into the details of mounting solar panels on your RV roof.
Table of Contents
Introduction To Solar Panels For Rvs
Solar panels for RVs are gaining popularity among travel enthusiasts. They offer a way to keep devices powered without relying on campgrounds or generators. With solar panels, you can enjoy the freedom of the open road while keeping your electronics charged.
Installing solar panels on your RV roof can be a great investment. It not only saves money on energy costs but also reduces your carbon footprint. Understanding the types and benefits of solar panels can help you make an informed decision.
Benefits Of Solar Power
Solar power provides a reliable and sustainable energy source. It allows you to power your RV appliances and gadgets without plugging into an external power source. This can be very useful during extended trips.
Using solar energy helps reduce your dependency on fossil fuels. It also minimizes noise pollution, unlike generators. Solar panels are low maintenance and have a long lifespan, making them a cost-effective solution in the long run.
Types Of Solar Panels
There are three main types of solar panels: monocrystalline, polycrystalline, and thin-film. Monocrystalline panels are the most efficient and take up less space. They work well in low-light conditions but can be more expensive.
Polycrystalline panels are slightly less efficient but more affordable. They are a good option if you have ample roof space. Thin-film panels are the least efficient but the most flexible. They are lightweight and can fit on curved surfaces.
Choosing the right type depends on your energy needs and budget. Consider the space available on your RV roof and your typical travel conditions.
Credit: www.adventurousway.com
Planning Your Solar Panel Installation
Mounting solar panels on your RV roof can transform your travel experience. Before you begin, it’s crucial to plan the installation carefully. This ensures you get the most out of your solar panels and avoid common pitfalls.
Assessing Your Power Needs
Start by determining how much power you need. Consider what devices you use daily and their power consumption. Do you run multiple appliances or just a few lights and a laptop?
Make a list of your devices and their wattage. Calculate your total daily power usage. This will guide you in selecting the appropriate solar panel system for your RV.
Choosing The Right Solar Panels
Not all solar panels are created equal. You need panels that fit your RV’s roof and meet your power requirements. Size, efficiency, and cost are key factors to consider.
Think about where you travel. If you’re often in sunny areas, high-efficiency panels might be overkill. If you frequent shaded or cloudy regions, opt for panels that perform well in low light.
Choose panels that are durable and built for RV use. Check reviews and ratings to ensure you’re getting quality products. Have you ever installed something on your RV only to realize it wasn’t fit for purpose? Learn from those experiences and make informed choices.
Planning your solar panel installation might seem daunting, but with the right approach, you can set up a reliable system that powers your adventures. What are your power needs? What type of panels fit your RV best? Answering these questions will pave the way for a successful installation.
Gathering Necessary Tools And Materials
Before mounting solar panels on your RV roof, gather essential tools and materials. This includes solar panels, brackets, screws, a drill, and sealant. Having everything ready ensures a smooth installation process.
Mounting solar panels on your RV roof is an excellent way to ensure you have a reliable source of power while enjoying the freedom of the open road. Before you dive into the installation process, it’s crucial to gather all the necessary tools and materials. Having everything prepared will make the job smoother and help avoid any frustrating delays.Essential Tools
To start, you’ll need a few basic tools. A cordless drill is a must-have for making precise holes and securing screws. Make sure your drill is fully charged and have a set of drill bits handy. A screwdriver set is also essential. Depending on the screws that come with your solar panel kit, you may need both Phillips and flathead screwdrivers. A tape measure will help you position your solar panels accurately on the RV roof. Accurate measurements ensure that your panels are aligned and secure.Required Materials
You’ll need the solar panel kit, which typically includes the panels, mounting brackets, and the necessary wiring. Make sure to double-check that all components are included in your kit. Roof sealant is crucial for preventing leaks. Apply it around the drilled holes to ensure a watertight seal. This step is vital for protecting your RV from water damage. Don’t forget to have some zip ties or cable clips on hand. These will help you manage the wiring and keep everything neat and secure. Have you ever started a project only to realize midway that you’re missing an essential item? It’s frustrating and can derail your progress. Double-checking your tools and materials list can save you from unnecessary headaches. In the end, preparation is key. With the right tools and materials, mounting solar panels on your RV roof can be a straightforward and rewarding project. Are you ready to harness the power of the sun on your next adventure?Preparing Your Rv Roof
Preparing your RV roof is a crucial step in mounting solar panels. A clean and well-prepared surface ensures a secure and long-lasting installation. Let’s dive into the necessary steps to get your RV roof ready.
Cleaning The Roof Surface
Start by giving your RV roof a thorough cleaning. Use a mild soap and water solution. Gently scrub the surface with a soft brush. Rinse thoroughly to remove all soap residues. Allow the roof to dry completely before moving on.
Marking Mounting Locations
Once the roof is clean, it’s time to mark the mounting locations. Plan the layout of your solar panels. Ensure they are positioned to get maximum sunlight. Use a measuring tape to mark the spots where you will attach the mounting brackets. Double-check your measurements to avoid errors.
By following these steps, you will ensure your RV roof is well-prepared for the solar panel installation. Proper preparation leads to a successful and efficient solar setup.
Installing The Mounting Brackets
Installing the mounting brackets is a crucial step in setting up solar panels on your RV roof. Proper installation ensures your solar panels remain secure and functional during travel. Let’s dive into the process of positioning and securing the brackets.
Positioning The Brackets
First, clean the RV roof to remove dirt and debris. This will help the brackets stick better. Next, place the brackets at the desired locations. Ensure they align with the solar panel’s mounting holes. Use a measuring tape to keep them straight and evenly spaced. Mark the positions with a pencil or marker.
Securing The Brackets
Now, drill pilot holes at the marked spots. These holes will make it easier to drive in the screws. Apply a sealant around the holes to prevent water leaks. Place the brackets over the holes and insert the screws. Tighten the screws until the brackets are secure. Check each bracket to ensure they are firmly attached.
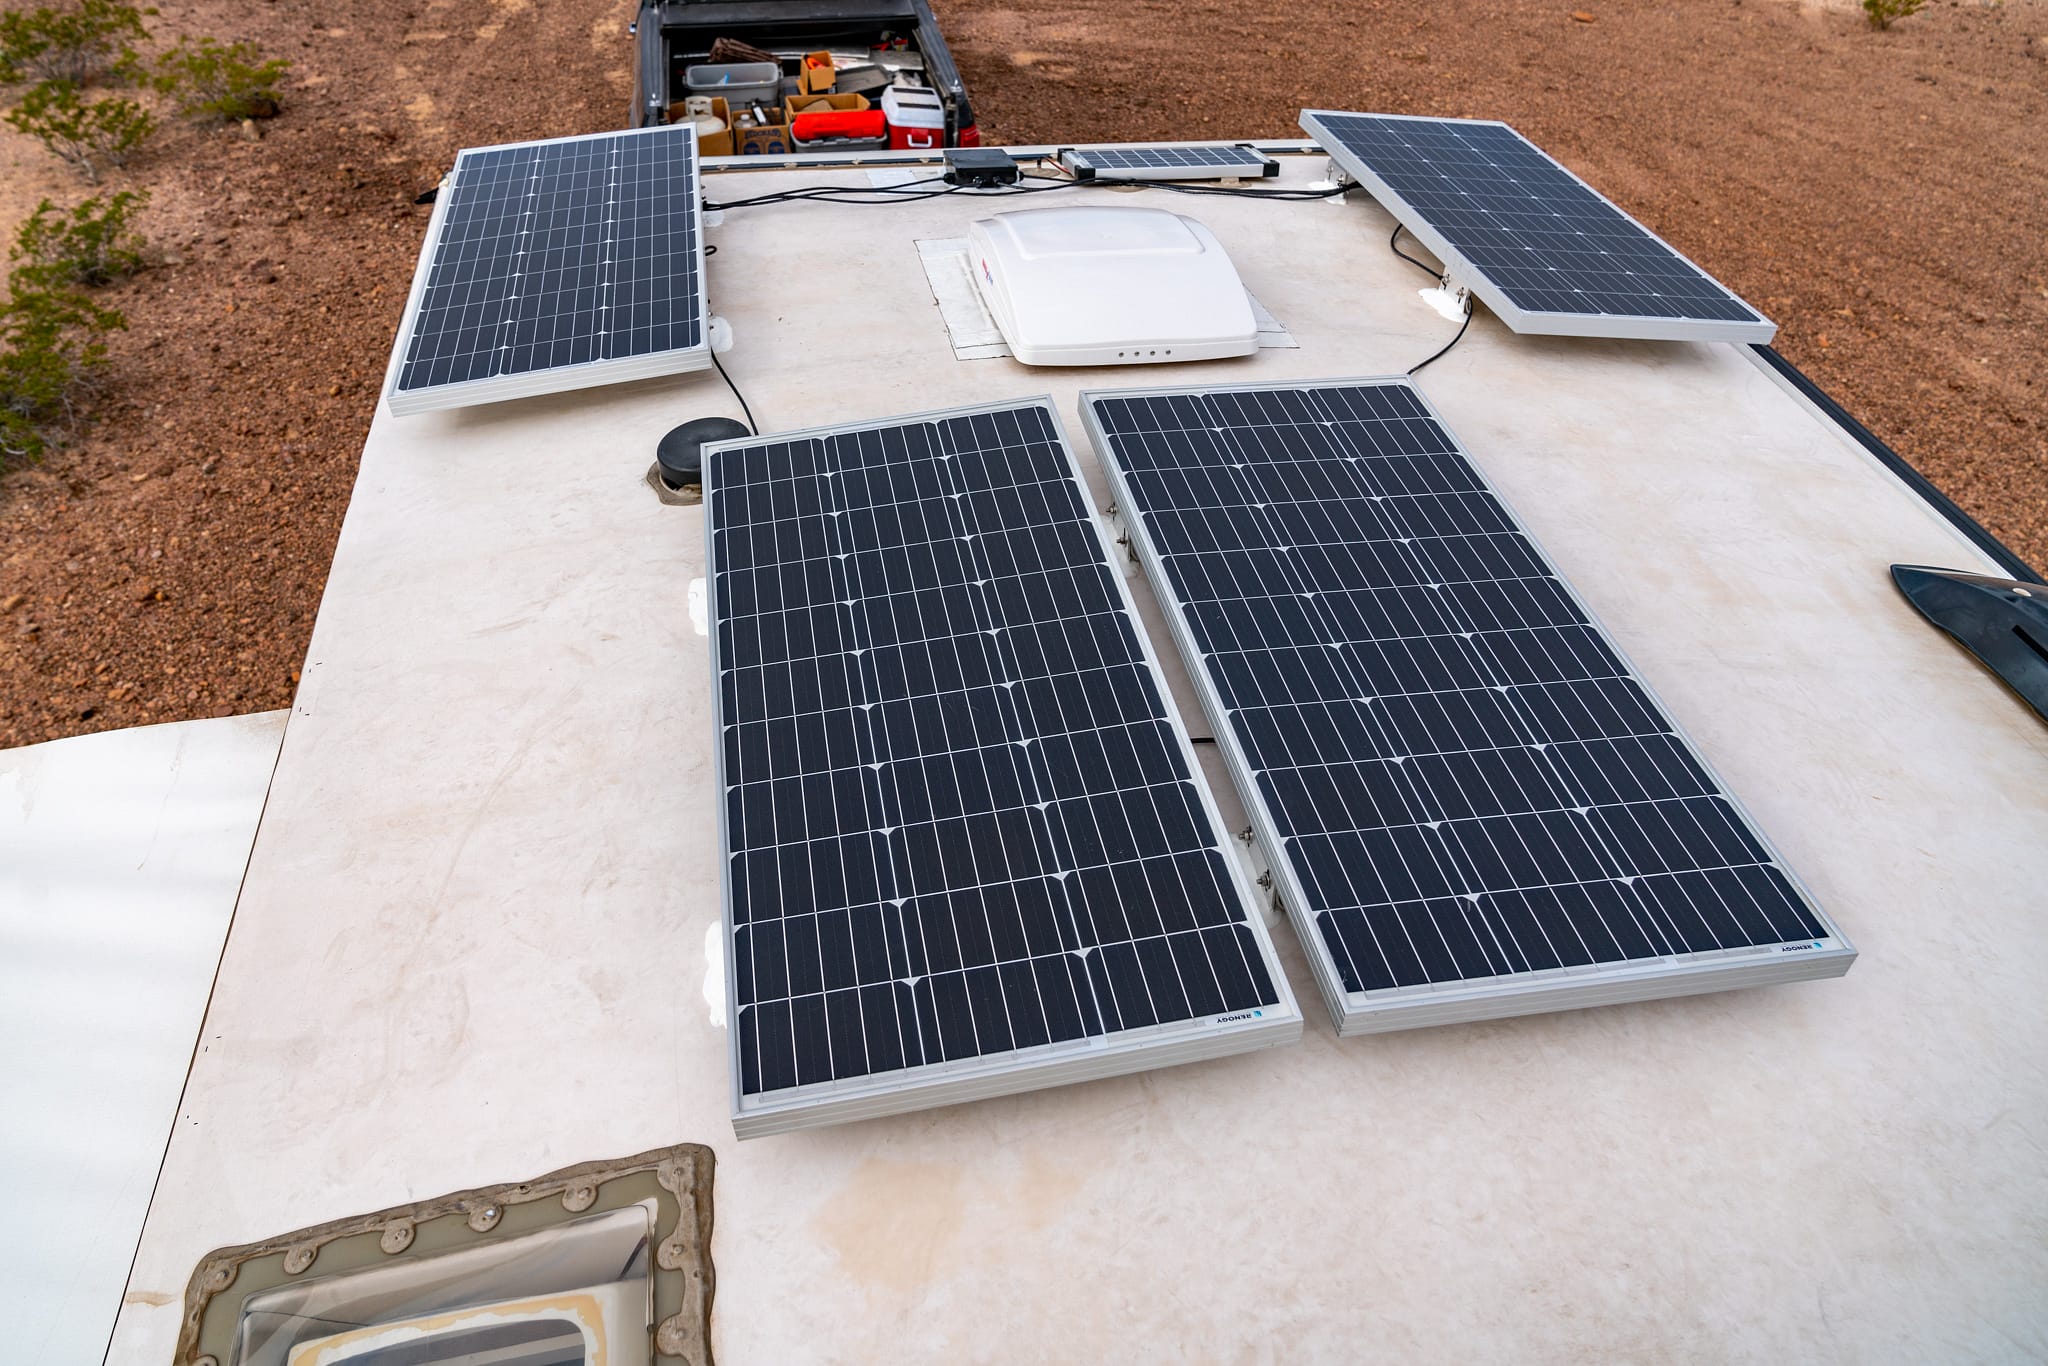
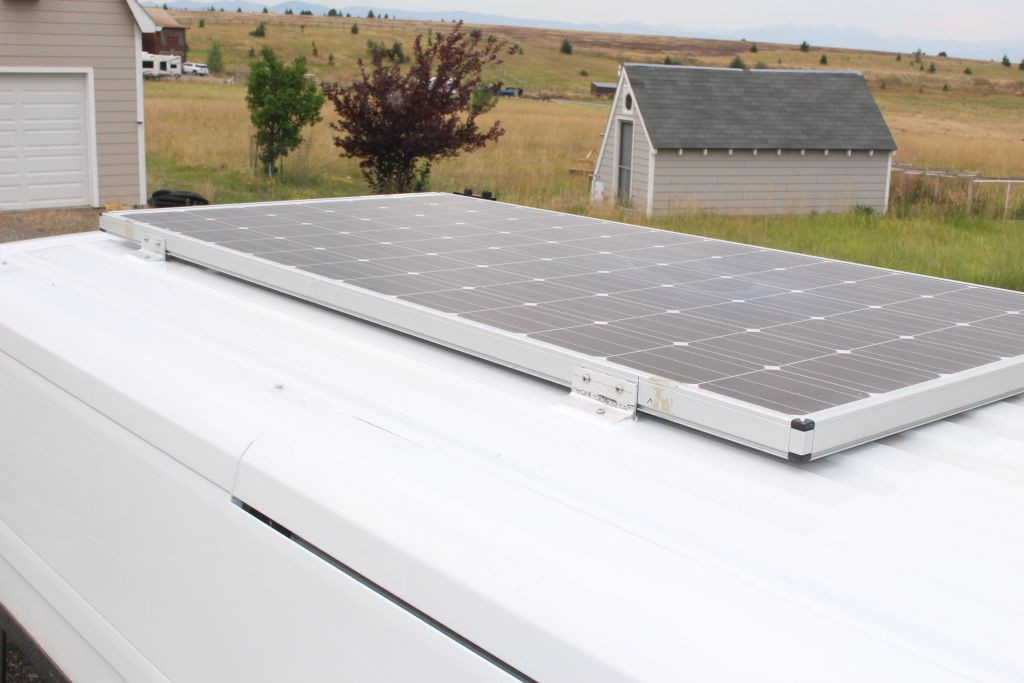
Mounting The Solar Panels
Secure solar panels on your RV roof using brackets and screws. Ensure the panels face the sun for maximum efficiency. Connect the panels to your RV’s power system for renewable energy.
Mounting the Solar Panels Mounting solar panels on your RV roof can be a game-changer for your travels. It opens up the possibility of off-grid adventures, letting you power your devices and appliances using the sun’s energy. However, the process can seem daunting. Let’s break it down into manageable steps. ###Aligning The Panels
The first step in mounting your solar panels is aligning them correctly. Proper alignment ensures maximum sun exposure and energy efficiency. Start by choosing a flat and spacious area on your RV roof. Make sure there’s enough room for all the panels you plan to install. Use a measuring tape to mark where each panel will go. This helps avoid any overlap and ensures a neat layout. ###Attaching The Panels
Once you have the panels aligned, it’s time to attach them securely. Begin by cleaning the spots where you’ll place the mounting brackets. Dirt or debris can weaken the adhesive or screws. Attach the brackets to the roof using screws or industrial adhesive. Make sure they’re tightly secured. Loose brackets can cause the panels to shift or fall off during travel. Place the solar panels onto the brackets. Double-check the alignment before tightening the bolts. This extra step ensures the panels are correctly positioned for optimal sunlight capture. Have you ever wondered if there’s a more efficient way to power your RV? Mounting solar panels could be the answer, and with these steps, it’s easier than you think. By following these simple steps, you can harness the sun’s power and enjoy more freedom on your travels. So, are you ready to take the plunge and mount your solar panels?Wiring The Solar Panels
Mounting solar panels on an RV roof involves selecting the right spot, securing brackets, and ensuring proper alignment. Careful wiring is essential for optimal energy efficiency.
Mounting solar panels on your RV roof is a great way to harness the power of the sun and enjoy your travels off the grid. However, wiring the solar panels correctly is crucial to ensure a safe and efficient system. Let’s dive into the steps involved in wiring the solar panels, covering how to connect the panels to the charge controller and how to route the wires. ###Connecting Panels To The Charge Controller
Connecting your solar panels to the charge controller is a pivotal step in the installation process. The charge controller regulates the voltage and current coming from the solar panels to the battery. First, ensure your solar panels are correctly positioned on your RV roof. Next, use the appropriate gauge wire to connect the positive and negative terminals of the panels to the charge controller. Make sure to follow the manufacturer’s instructions carefully. Using the correct wire size is crucial to prevent overheating and ensure efficiency. It’s essential to install a fuse or circuit breaker between the solar panels and the charge controller. This step protects your system from potential overcurrent situations. After connecting the wires, double-check the connections to ensure they are secure and properly insulated. ###Routing The Wires
Routing the wires from your solar panels to the charge controller requires careful planning. You want to avoid any potential damage to the wires and maintain a clean look. Start by identifying the best path for the wires from the roof to the inside of your RV. Consider using existing vents or installing a weatherproof entry gland for a clean and secure entry point. Secure the wires along the roof with cable clips or adhesive mounts. This step prevents the wires from flapping in the wind while driving. Inside the RV, route the wires to the charge controller, ensuring they are hidden and protected. Use cable conduits or wire looms to keep the installation neat and avoid any tripping hazards. Lastly, label the wires for easy identification and future maintenance. A little extra effort in organizing the wiring can save a lot of headaches down the road. Have you thought about where you’ll place the charge controller inside your RV? It’s important to choose a location that’s easily accessible for monitoring and maintenance. By following these steps, you’ll be well on your way to setting up a reliable solar power system for your RV adventures. Happy travels and sunny days ahead!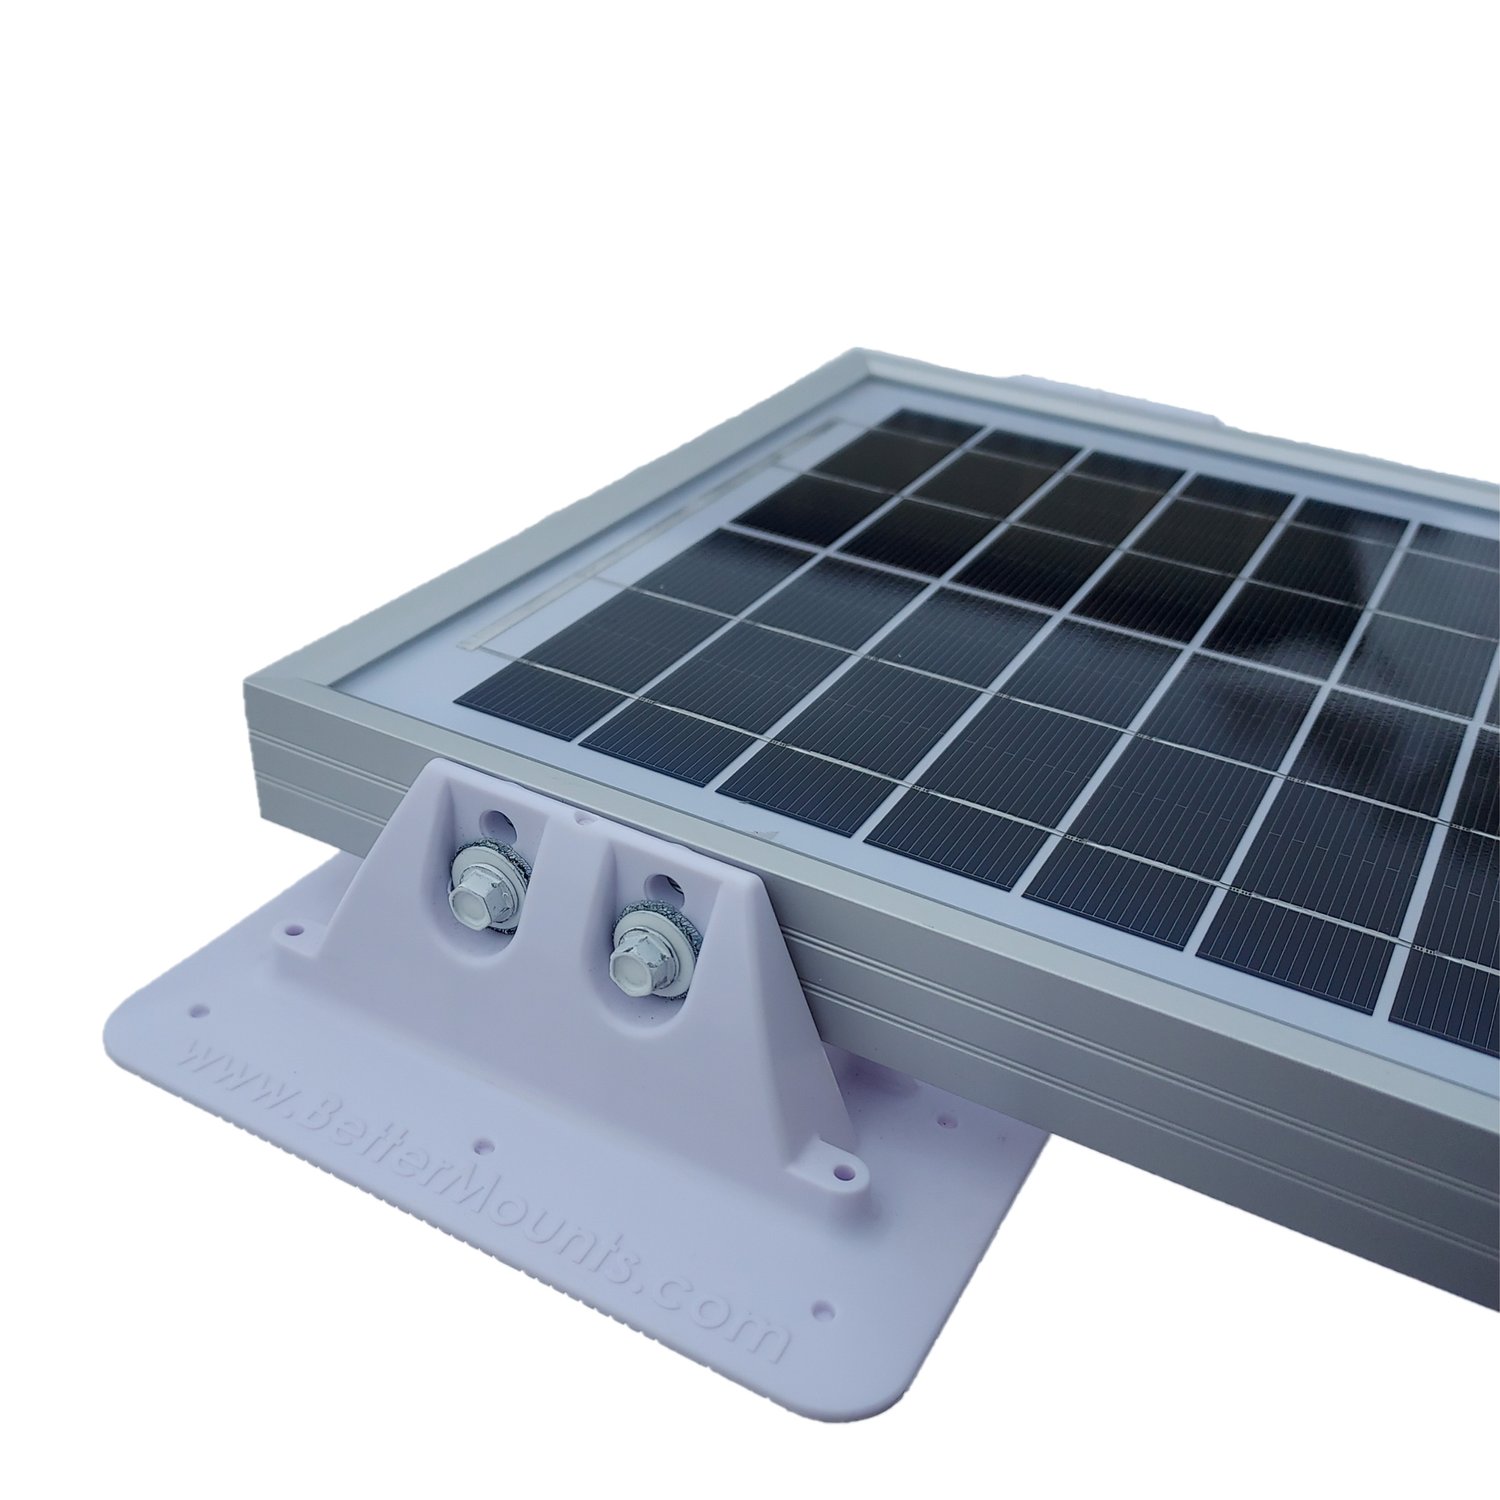
Credit: www.bettermounts.com
Testing And Troubleshooting
Once you’ve successfully mounted solar panels on your RV roof, it’s crucial to test and troubleshoot to ensure everything is working correctly. Proper testing and troubleshooting can prevent future issues and help you make the most of your solar investment. Let’s dive into the key steps to ensure your solar panels are functioning at their best.
Checking For Proper Operation
Begin by checking the voltage output of your solar panels. Use a multimeter to measure the voltage at the connection points. Make sure the readings match the specifications provided by the manufacturer.
Check the charge controller next. Ensure it’s receiving power from the panels and delivering it to the battery. The display should show active charging, indicating that the system is working as intended.
Monitor the battery voltage over a few hours of sunlight. It should steadily increase if the panels are working correctly. If the voltage stays the same or drops, there may be an issue with the installation or components.
Fixing Common Issues
If you notice issues during testing, don’t worry. Many common problems are easy to fix. Loose connections are a frequent culprit. Double-check all wiring and connections to ensure they’re secure and properly connected.
Inspect the panels for any visible damage. Scratches, cracks, or dirt can impact performance. Clean the panels with a soft cloth and a mild cleaning solution if needed.
If the charge controller isn’t functioning, it might be a configuration issue. Refer to the manual to check the settings and adjust them if necessary. Make sure it’s set to the correct battery type and voltage.
Are you experiencing inconsistent power output? Shading can be the cause. Ensure there are no obstructions on the roof that cast shadows on the panels during peak sunlight hours.
Have you tested and fixed common issues? Share your experience in the comments below! Your insights could help fellow RV enthusiasts enhance their solar setups.
Maintenance And Care
Maintaining and caring for solar panels on your RV roof is crucial to ensure optimal performance and longevity. By dedicating some time to regular upkeep, you can maximize the energy efficiency and lifespan of your solar panels. Let’s delve into two key aspects of maintenance: cleaning the panels and inspecting for damage.
Cleaning The Panels
Dust, dirt, and bird droppings can accumulate on your solar panels, reducing their efficiency. Cleaning the panels regularly ensures they are working at their best.
Use a soft brush or cloth to gently wipe the surface. Avoid using harsh chemicals or abrasive materials that could scratch the panels.
Rinse with water and dry thoroughly. A clean panel means more sunlight absorption and better energy output.
Have you noticed a drop in your solar power generation? It might be time for a thorough cleaning.
Inspecting For Damage
Regular inspection helps identify any damage early. Look for cracks, chips, or loose connections.
Check the mounting hardware. Ensure bolts and screws are tight and secure.
If you find any issues, address them promptly. This prevents further damage and maintains the system’s integrity.
Remember, a small crack can lead to significant energy loss. Regular checks can save you from costly repairs down the line.
Maintaining and caring for your RV solar panels is not just about keeping them clean and intact; it’s about ensuring you have reliable power wherever you go. Have you ever found yourself miles from civilization with a dead battery? Proper maintenance can prevent that.
Credit: www.buildagreenrv.com
Frequently Asked Questions
How Do You Secure Solar Panels To An Rv Roof?
Secure solar panels to an RV roof using brackets, screws, and sealant. Ensure proper alignment and tightness.
How To Attach Solar Panels To Rv Roof Without Drilling?
Use adhesive mounts or VHB tape to attach solar panels to your RV roof without drilling. Ensure proper surface cleaning and follow installation guidelines.
What Will A 200 Watt Solar Panel Run In An Rv?
A 200-watt solar panel can power small appliances in an RV. It can run LED lights, charge phones, and power a small fridge.
What Is The Best Adhesive For Solar Panels On Rv Roof?
The best adhesive for solar panels on an RV roof is a high-quality, UV-resistant, marine-grade adhesive sealant. Consider brands like Sikaflex or 3M 5200 for durable and reliable bonding.
Conclusion
Mounting solar panels on your RV roof is a smart choice. It provides renewable energy and saves money. Start by choosing the right panels. Measure your roof carefully. Ensure secure mounting brackets. Connect the wiring correctly. Test the system thoroughly.
With these steps, you’ll enjoy a reliable power source. Travel with confidence and enjoy your adventures. Solar power keeps your RV running smoothly. So, get started today and harness the sun’s energy for your next trip. Happy travels!