Ceramic coating an RV is not the same job as coating a car. It’s bigger, hotter, and way less forgiving. You’ve got gel coat or painted panels that may already be lightly oxidized, decals that can trap haze if you over-apply product, rubber trim that loves to “drink” overspray, and a roof that’s basically a sun-baked stress test.
So when people search for the best rv ceramic coating, they’re usually not asking for a chemistry lecture. They’re asking a practical question: “What will keep my rig glossy, easier to wash, and less stained by bugs, rain, and road film… without turning my weekend into a full-time detailing job?”
Here’s the truth you deserve up front: the “best” choice depends on how you actually use your RV. If you park outside in hard water and wash with a hose, you need a system that fights water spots and grime buildup. If you store inside and travel seasonally, you can go harder on a true coating and ride that protection longer. If you’re a campground traveler who wants speed, touchless spray-on/rinse-off products are game changing—as long as you know their limits and how to avoid streaking.
This guide is built from real ownership patterns, not just marketing claims. I’m going to show you what matters on the surface: how “thin coat discipline” prevents haze, why flash time is the make-or-break moment, how to keep your decals crisp, and how to build a maintenance routine that keeps your coating looking fresh without redoing the whole rig every month.
Below you’ll find 15 standout options—true coatings, spray coatings, touchless sealants, and one ceramic-infused wash soap— organized in an order that matches real RV needs, from “I want the best long-term result” to “I want the fastest shine I can do at a campsite.”
In this article
- How to choose the right RV coating for your rig, your storage, and your wash style.
- Quick comparison table of 15 standout options.
- In-depth reviews of each product, with pros and cons.
- How RV ceramic protection actually works (and why prep beats product).
- Answers to common questions, plus final buying tips.
How to Choose the Best RV Ceramic Coating for Real RV Life
An RV doesn’t need “more features.” It needs less friction: fewer bug guts that bake on, less black streaking that stains your gel coat, less time scrubbing wheels and ladder rungs, and fewer wash-day scratches from fighting stubborn grime. The best way to get that result is to pick the right category first—then pick the right product inside that category.
1. First, choose your protection style (this is the decision most guides skip)
RV ceramic protection isn’t one product type. It’s a toolkit. Here’s how the main categories behave in the real world:
- True coatings (bottle coatings): These are the “bond and cure” coatings. They demand prep and careful leveling, but they give the most durable, most “coating-like” surface. Great if you can work in shade and you want long-term payoff.
- Spray ceramic / graphene sprays: These are faster and more forgiving. They’re perfect for big rigs because you can do the job in stages and recoat specific zones (front cap, bug zone, lower skirting) without redoing the entire RV.
- Touchless spray-on/rinse-off sealants: This is the RV owner’s secret weapon. These products are ideal when you want speed after a wash—especially for roofs, wheels, and huge sides. The tradeoff is that application technique matters: too much product or letting it dry can cause streaks or spots.
- Coating boosters / bead makers: These don’t replace a true coating, but they keep your coating “feeling alive” by restoring slickness and water behavior. Think of them as the difference between “my RV used to bead like crazy” and “it still does.”
- Ceramic-infused wash soaps: Not a coating. But the right soap can keep the finish glossy and hydrophobic between real protection layers—especially if you wash often.
2. RV surfaces are mixed materials—your product must behave on all of them
Most rigs aren’t just paint. You typically have some combination of:
- Gel coat (fiberglass): Great candidate for ceramic protection, but prep matters because gel coat can oxidize and hold embedded contamination.
- Decals and graphics: The #1 place where over-application shows up as haze. You want thin coats and clean microfiber technique.
- Plastic trim, rubber seals, ladder/awning hardware: Overspray happens. A product that wipes cleanly without staining is a big quality-of-life win.
- Glass: Coated glass can be a game-changer in rain. But glass also reveals streaking quickly, so your wipe technique matters.
Many modern coatings and sprays are multi-surface safe—but on RVs, “safe” is not the same as “looks perfect.” The best products are the ones that level cleanly when you’re working fast on huge panels.
3. Prep is not optional—RV prep is just different than car prep
If your RV already has oxidation, streaking, or water spot minerals bonded into the surface, a coating won’t magically hide it. It can lock it in. Your prep goal is simple: create a clean, uniform surface so your product bonds evenly and wipes clear.
- Wash properly (degrease road film): Your first wash should remove traffic film and old wax residue, not just dust.
- Decontaminate where needed: If your sides feel gritty, you’ll fight streaking. A clay mitt or clay bar step can be worth it on problem areas.
- Oxidation correction (if needed): On older gel coat, a light polish can make the difference between “wow gloss” and “meh, still chalky.”
- Final wipe / surface prep: Remove any leftover oils or protection so the ceramic product bonds, not slides.
You don’t need to obsess over perfection. But you do need the surface to be clean enough that your towel isn’t dragging. Dragging is where swirls, haze, and patchy bonding come from.
4. Master the RV “three danger zones”
If you want a professional-looking result, treat these areas with extra respect:
- Dark gel coat and black trims: They show high spots and haze the most. Thin coats win.
- Decals: They can trap residue at edges. Use less product, and finish-buff with a clean, dry microfiber towel.
- Front cap / bug zone: This is your stress test area. It gets blasted by bugs and grime. Consider a stronger foundation product here, then maintain it often.
5. The RV buyer’s “reality test” for durability claims
Durability depends on environment more than the label. Sun, temperature swings, wash frequency, and water hardness all shorten real-world lifespan. That’s not failure—it’s physics.
The smart way to buy is to match the product to your reality:
- Park outdoors? Choose a product that’s easy to refresh (spray ceramic, booster, or touchless rinse) so you’re not stuck redoing a full coating job.
- Hard water? Choose products that encourage fast rinsing and easy drying. Then use a maintenance layer that reduces mineral bonding.
- Seasonal use? Go for a stronger foundation product. You’ll get better “stored gloss” and easier spring cleanup.
6. Don’t just buy a product—buy a repeatable routine
The best RV finish is the one you can maintain without hating your life. A practical routine looks like this:
- Foundation layer: Apply once (true coating or strong spray ceramic) when you have time and shade.
- Fast maintenance layer: After washes, use a booster or touchless sealant to restore slickness and water behavior.
- Corrective moments: If you see haze or streaking, fix it immediately (usually by re-wetting the surface, using less product, and buffing with a clean towel).
That routine is why RV owners who “never have time to detail” still keep a glossy rig: they stop trying to do everything in one perfect day. They build a system.
Quick Comparison: 15 Best RV Ceramic Coating Options (Organized for RV Needs)
Use this table to quickly match products to your RV lifestyle. Then jump into the reviews—because the “real value” is in how each product behaves on big panels, decals, gel coat, and wash-day time pressure.
On smaller screens, swipe or scroll sideways to see the full table.
| Model | Category | RV strength | Best match | Amazon |
|---|---|---|---|---|
| Adam’s Polishes UV Graphene Ceramic Coating | True coating | UV tracer helps flawless coverage + “serious” slickness and gloss | Owners who want a high-end finish and want fewer missed spots | Amazon |
| CLEAN. Ceramic Coating 3-Year | True coating | Beginner-friendly feel + fast “back to water” time | DIYers who want a true coating without fear of messy results | Amazon |
| 20H Graphene Ceramic Coating (Hatinix) 70ml | True coating | Deep gloss + “micro-scratch hiding” vibe for tired paint/gel coat | Older rigs that need visual revival plus protection | Amazon |
| Presta Hydro Protek Ceramic Coating (1 Gallon) | Bulk spray | Huge coverage for big rigs + shines gel coat fast | Fifth wheels/motorhomes who want speed and coverage | Amazon |
| 303 Products Touchless Sealant (1 Gallon) | Touchless rinse | Spray-on/rinse-off speed for roofs, wheels, and huge panels | Campground washers and “fast shine” RV owners | Amazon |
| Swift Touchless Ceramic Foamable Wax (1 Gallon) | Foam cannon wax | Foam-on/rinse-off glow + hydrophobic layer without hand-waxing | Large RVs where wiping the whole rig is a deal-breaker | Amazon |
| Adam’s Graphene Boost | Booster | Restores slickness and beading on coated or uncoated rigs | Owners who want “coated feel” without redoing the whole RV | Amazon |
| 3D Bead It Up (1 Gallon) | Bead maker | Gloss + slickness + beading “refresh” for coatings and paint | People who wash often and want quick, satisfying results | Amazon |
| Adam’s Advanced Graphene Ceramic Spray Coating Kit | Spray kit | All-in-one “prep + coat + maintain” workflow for RV beginners | DIYers who want the most complete package | Amazon |
| Adam’s Advanced Graphene Ceramic Spray Coating | Spray coating | Fast application + strong gloss for huge panels and windows | Owners who want a powerful spray without buying a kit | Amazon |
| Resist Graphene Spray Coating (Ethos) 2 Pack | Spray coating | Very slick, glossy finish with simple spray-and-wipe rhythm | Owners who like quick monthly refreshes | Amazon |
| Nexgen Ceramic Spray (SiO₂) | Spray sealant | Easy wipe-on/buff-off shine for RV paint, glass, and trim | Owners who want simple steps and reliable shine | Amazon |
| RV Ceramic Coating Polish Spray (toretark) 32 oz | Spray sealant | No “chemical stink” approach + strong shine focus | Sensitive users and quick-detail RV owners | Amazon |
| TEC582 Ceramic Detail Spray (1 Gallon) | Detail spray | Fast gloss + slickness on wet or dry surfaces | People who love a “spray and wipe” finish between washes | Amazon |
| Chemical Guys HydroSuds Ceramic Wash Soap (64 oz) | Maintenance wash | Ceramic-infused high foam wash that helps maintain gloss and beading | Owners who wash regularly and want protection “nudges” | Amazon |
In‑Depth Reviews: 15 RV Ceramic Coating Picks That Actually Make Ownership Easier
Now we’ll go product by product. I’m not going to pretend your RV is a showroom toy. This is about what holds up through sun, travel grime, bugs, rain streaks, campground washes, and “I have two hours, not two days.” You’ll see exactly who each product is for, what it’s best at, and what to watch out for so you don’t get haze, streaks, or wasted effort.
1. Adam’s Polishes UV Graphene Ceramic Coating – “Never Miss a Spot” Confidence on Big RV Panels

If you’re going to do a true coating on an RV, your biggest enemy is not effort—it’s coverage uncertainty. On a car, you can “eyeball” your way through. On a 30–40 foot rig with ladders, seams, compartment doors, and decals, missed spots are almost guaranteed… unless you have a way to confirm them.
That’s what makes Adam’s UV Graphene stand out as a smart “best overall” choice: the UV tracer concept turns application into a visible process. Instead of guessing whether you coated that last 12-inch strip near the awning rail, you can confirm your work and move forward confidently. It’s the kind of feature that’s especially valuable on RVs because your surface area is huge and your working time is limited.
Real owners consistently describe two things when they use this coating correctly: the surface becomes slick in a way that changes washing, and water behavior becomes dramatic (beads and sheets aggressively). The shine also reads “thicker” than many sprays—more like a coated look than a shiny wax look. On gel coat, that often translates to a richer, deeper finish that makes graphics pop.
The big “pro tip” with this coating is simple and non-negotiable: do small sections, watch for the flash/rainbow moment, and level it promptly. People who rush this step are the ones who end up with high spots that need correction. On an RV, you don’t want to polish a ladder-side panel because you got distracted. Treat the coating step like a series of small wins: one compartment door, one panel, one section—wipe, inspect, move on.
Why RV owners love it
- UV tracer reduces “coverage anxiety” – Huge advantage on long, repetitive RV panels where missed spots happen.
- Real coating feel – More durable, slick, and “glass-like” than most spray ceramics when applied correctly.
- Hydrophobic behavior changes washing – Dirt releases more easily, which reduces wash-induced scratches over time.
- Strong support ecosystem – Owners often mention helpful brand guidance and a clear process (prep, apply, level).
Good to know
- This is not a “spray everywhere” product—coatings punish sloppy technique. Small sections win.
- If your gel coat is oxidized, prep matters even more (otherwise you’re sealing dullness under gloss).
- Plan your towels and lighting; RV panels reveal high spots when sunlight hits at an angle.
Ideal for: RV owners who want a true coating finish and love having a visual way to confirm coverage—especially on large rigs and decal-heavy sides.
2. CLEAN. Ceramic Coating 3‑Year – The “Easy First Coating” That Still Looks High-End
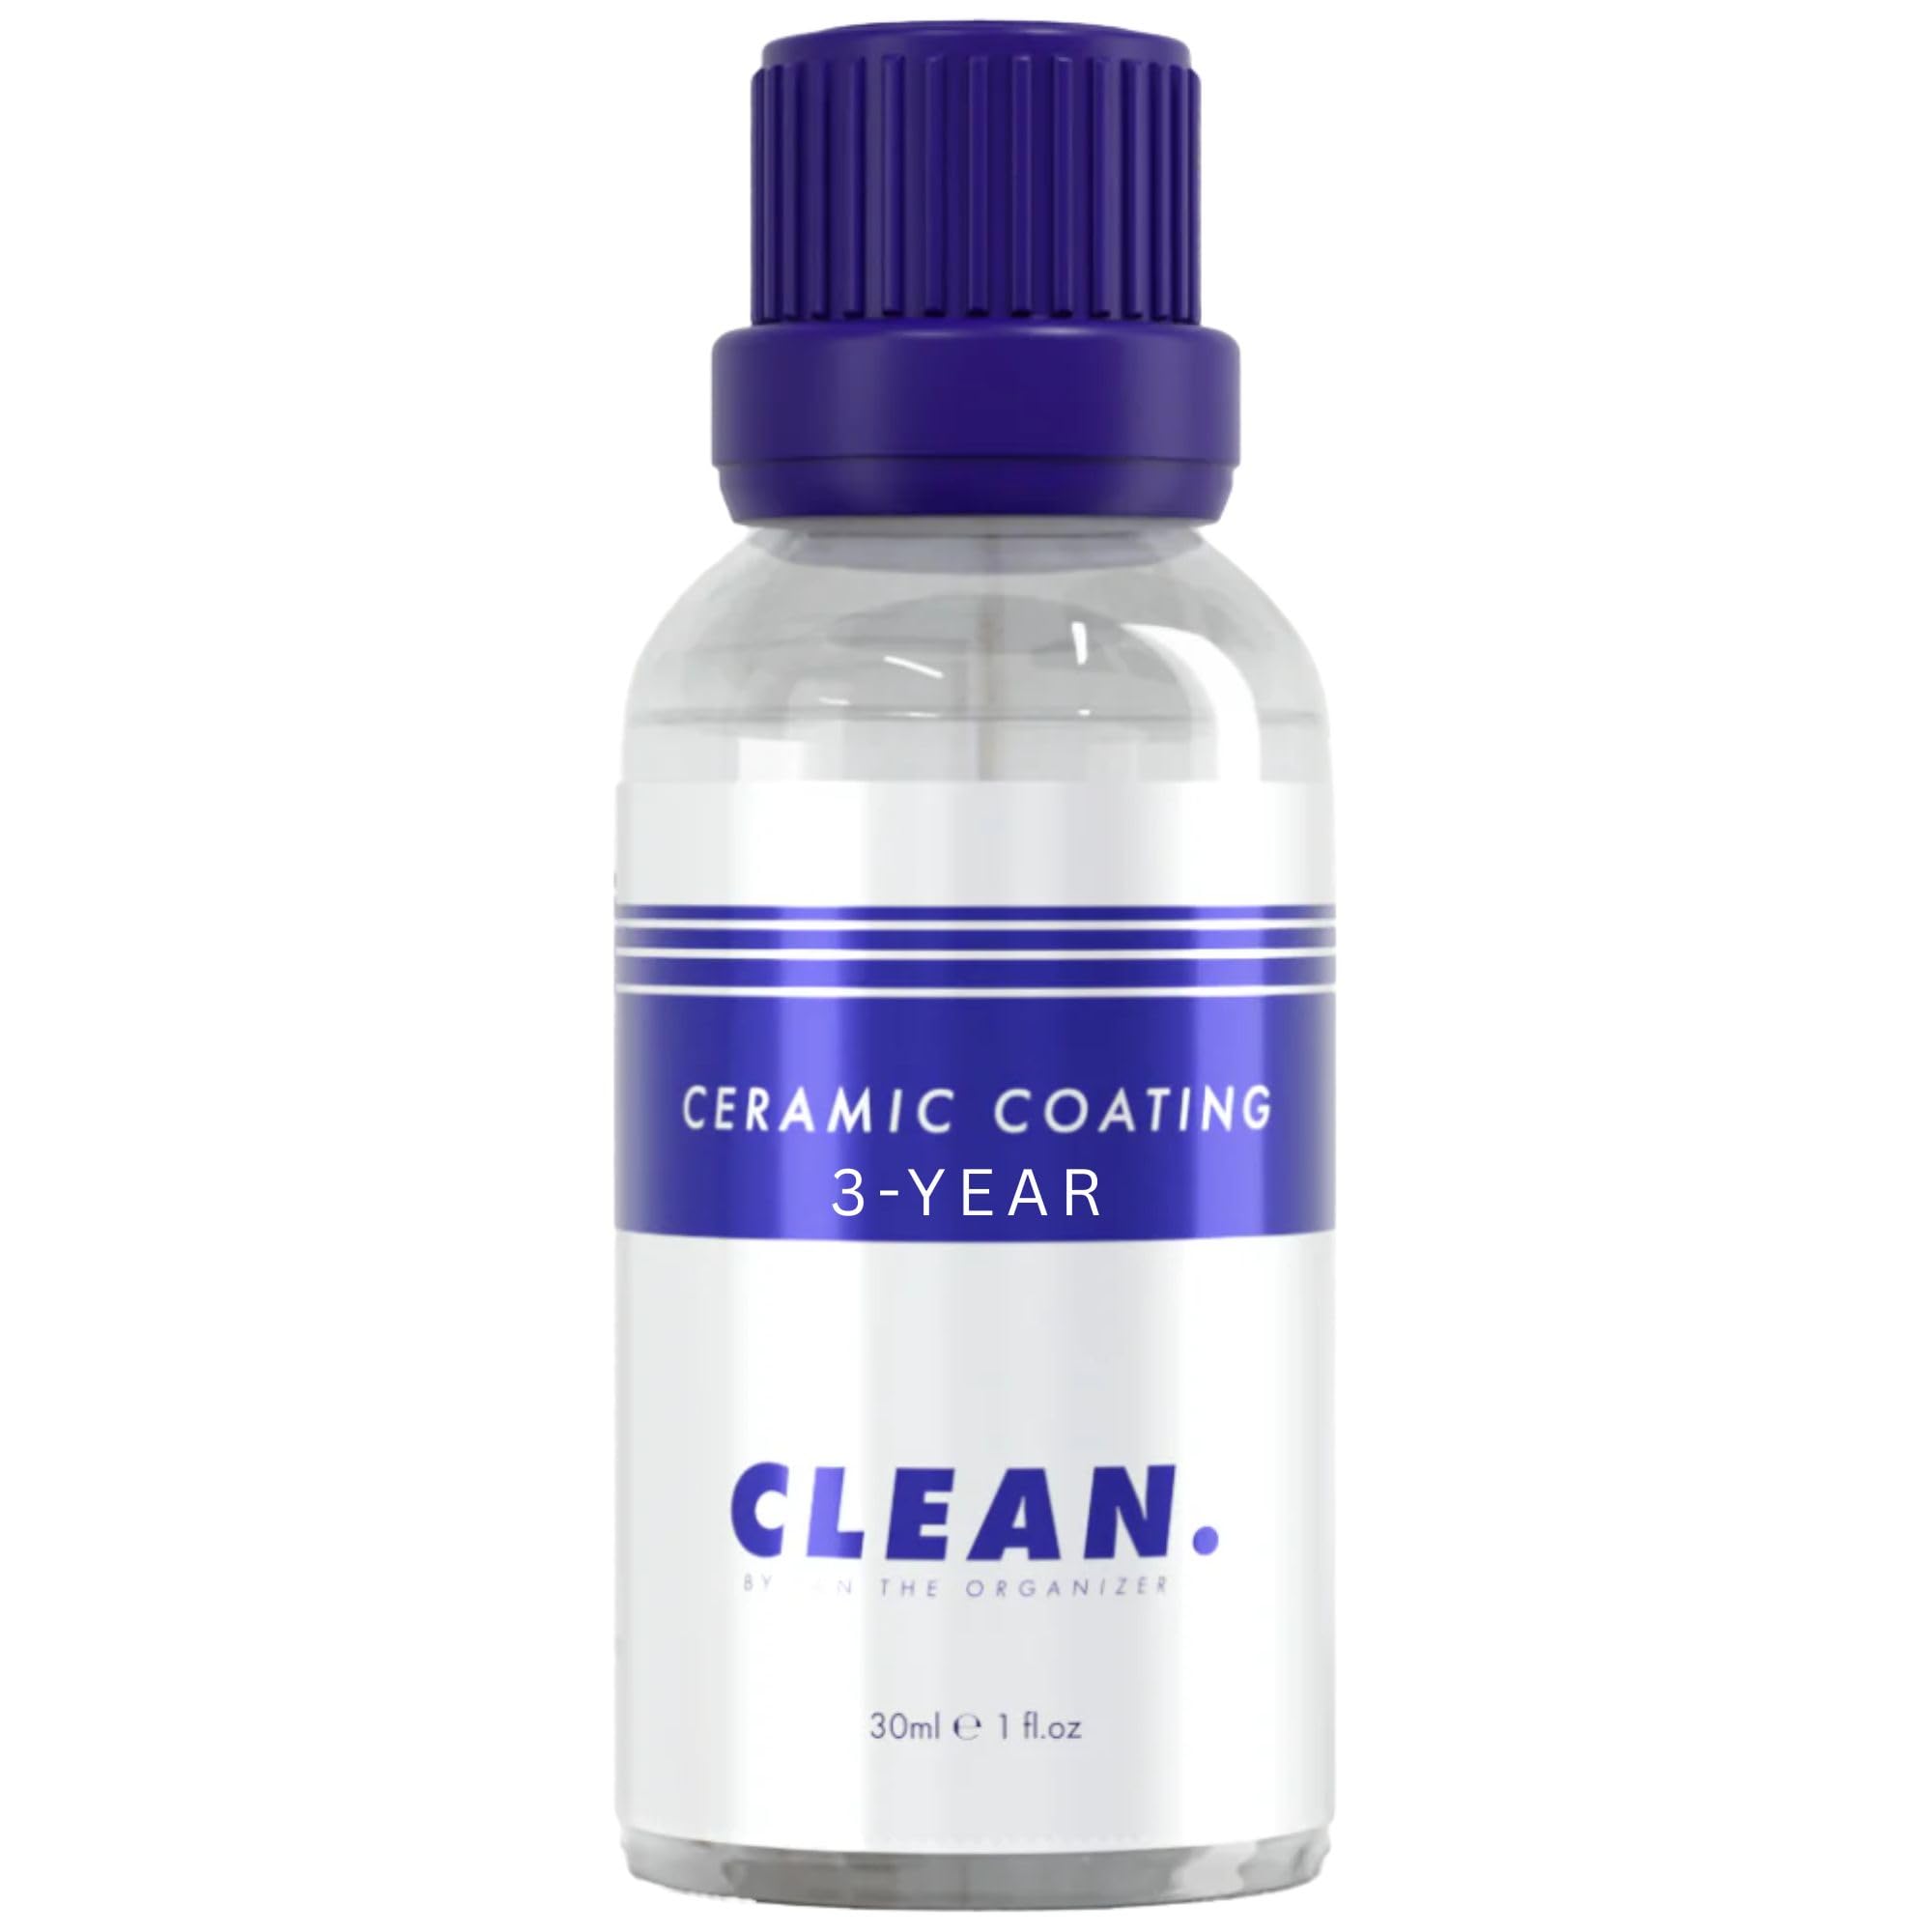
Most RV owners who want to try a real coating are not afraid of the work—they’re afraid of the mistake. They’ve seen “high spot horror stories,” and they don’t want to spend a weekend just to create patchy haze on a dark stripe. That’s why CLEAN. (3‑Year) is such a compelling option: it’s positioned as a true coating, but with a user experience that feels more approachable for normal DIYers.
The real-life feedback pattern is consistent: people say it’s easy to apply, forgiving when you follow directions, and the gloss keeps improving as it cures. That “cure glow” matters on RVs because you often coat in stages. A product that looks better day by day builds trust that you did it right. And on travel days, the hydrophobic effect is what you notice most: rain runs off, grime releases faster, and the rig keeps looking “fresh” longer.
Where CLEAN. shines (pun intended) is as a “first coating” for RV owners who want the real coating payoff without feeling like they need a pro shop. It’s also a smart pick for mixed-material rigs: paint, glass, trim, wheels, and even matte-safe claims can matter if you’ve got wrapped sections or satin graphics. The best approach is still the same: prep properly, apply thinly, and always finish-buff with a clean towel.
If you’re the type who wants to coat your RV once, then maintain with faster products later, this is a strong foundation layer. It’s not trying to be the most extreme on paper—it’s trying to be the most repeatable for normal people. That’s how you actually get long-term results.
Why it’s great for RV DIY
- Beginner-friendly workflow – A true coating that feels manageable when you follow the steps.
- High-gloss payoff – Owners often mention strong gloss that continues to look better as it cures.
- Practical curing expectations – Helpful for RV owners who need the rig back in service quickly.
- Wide surface compatibility – Useful when your RV is paint + glass + trim + mixed surfaces.
Good to know
- Prep still matters—“easy” doesn’t mean “skip cleaning oils and oxidation.”
- Work in shade with good lighting so you can see the wipe-down clearly.
- On decals, less product is more; thin coats prevent edge haze.
Ideal for: RV owners who want a real ceramic coating but want the application to feel calm, controlled, and repeatable.
3. 20H Graphene Ceramic Coating (Hatinix) – A “Bring It Back to Life” Coating for Older Paint & Gel Coat
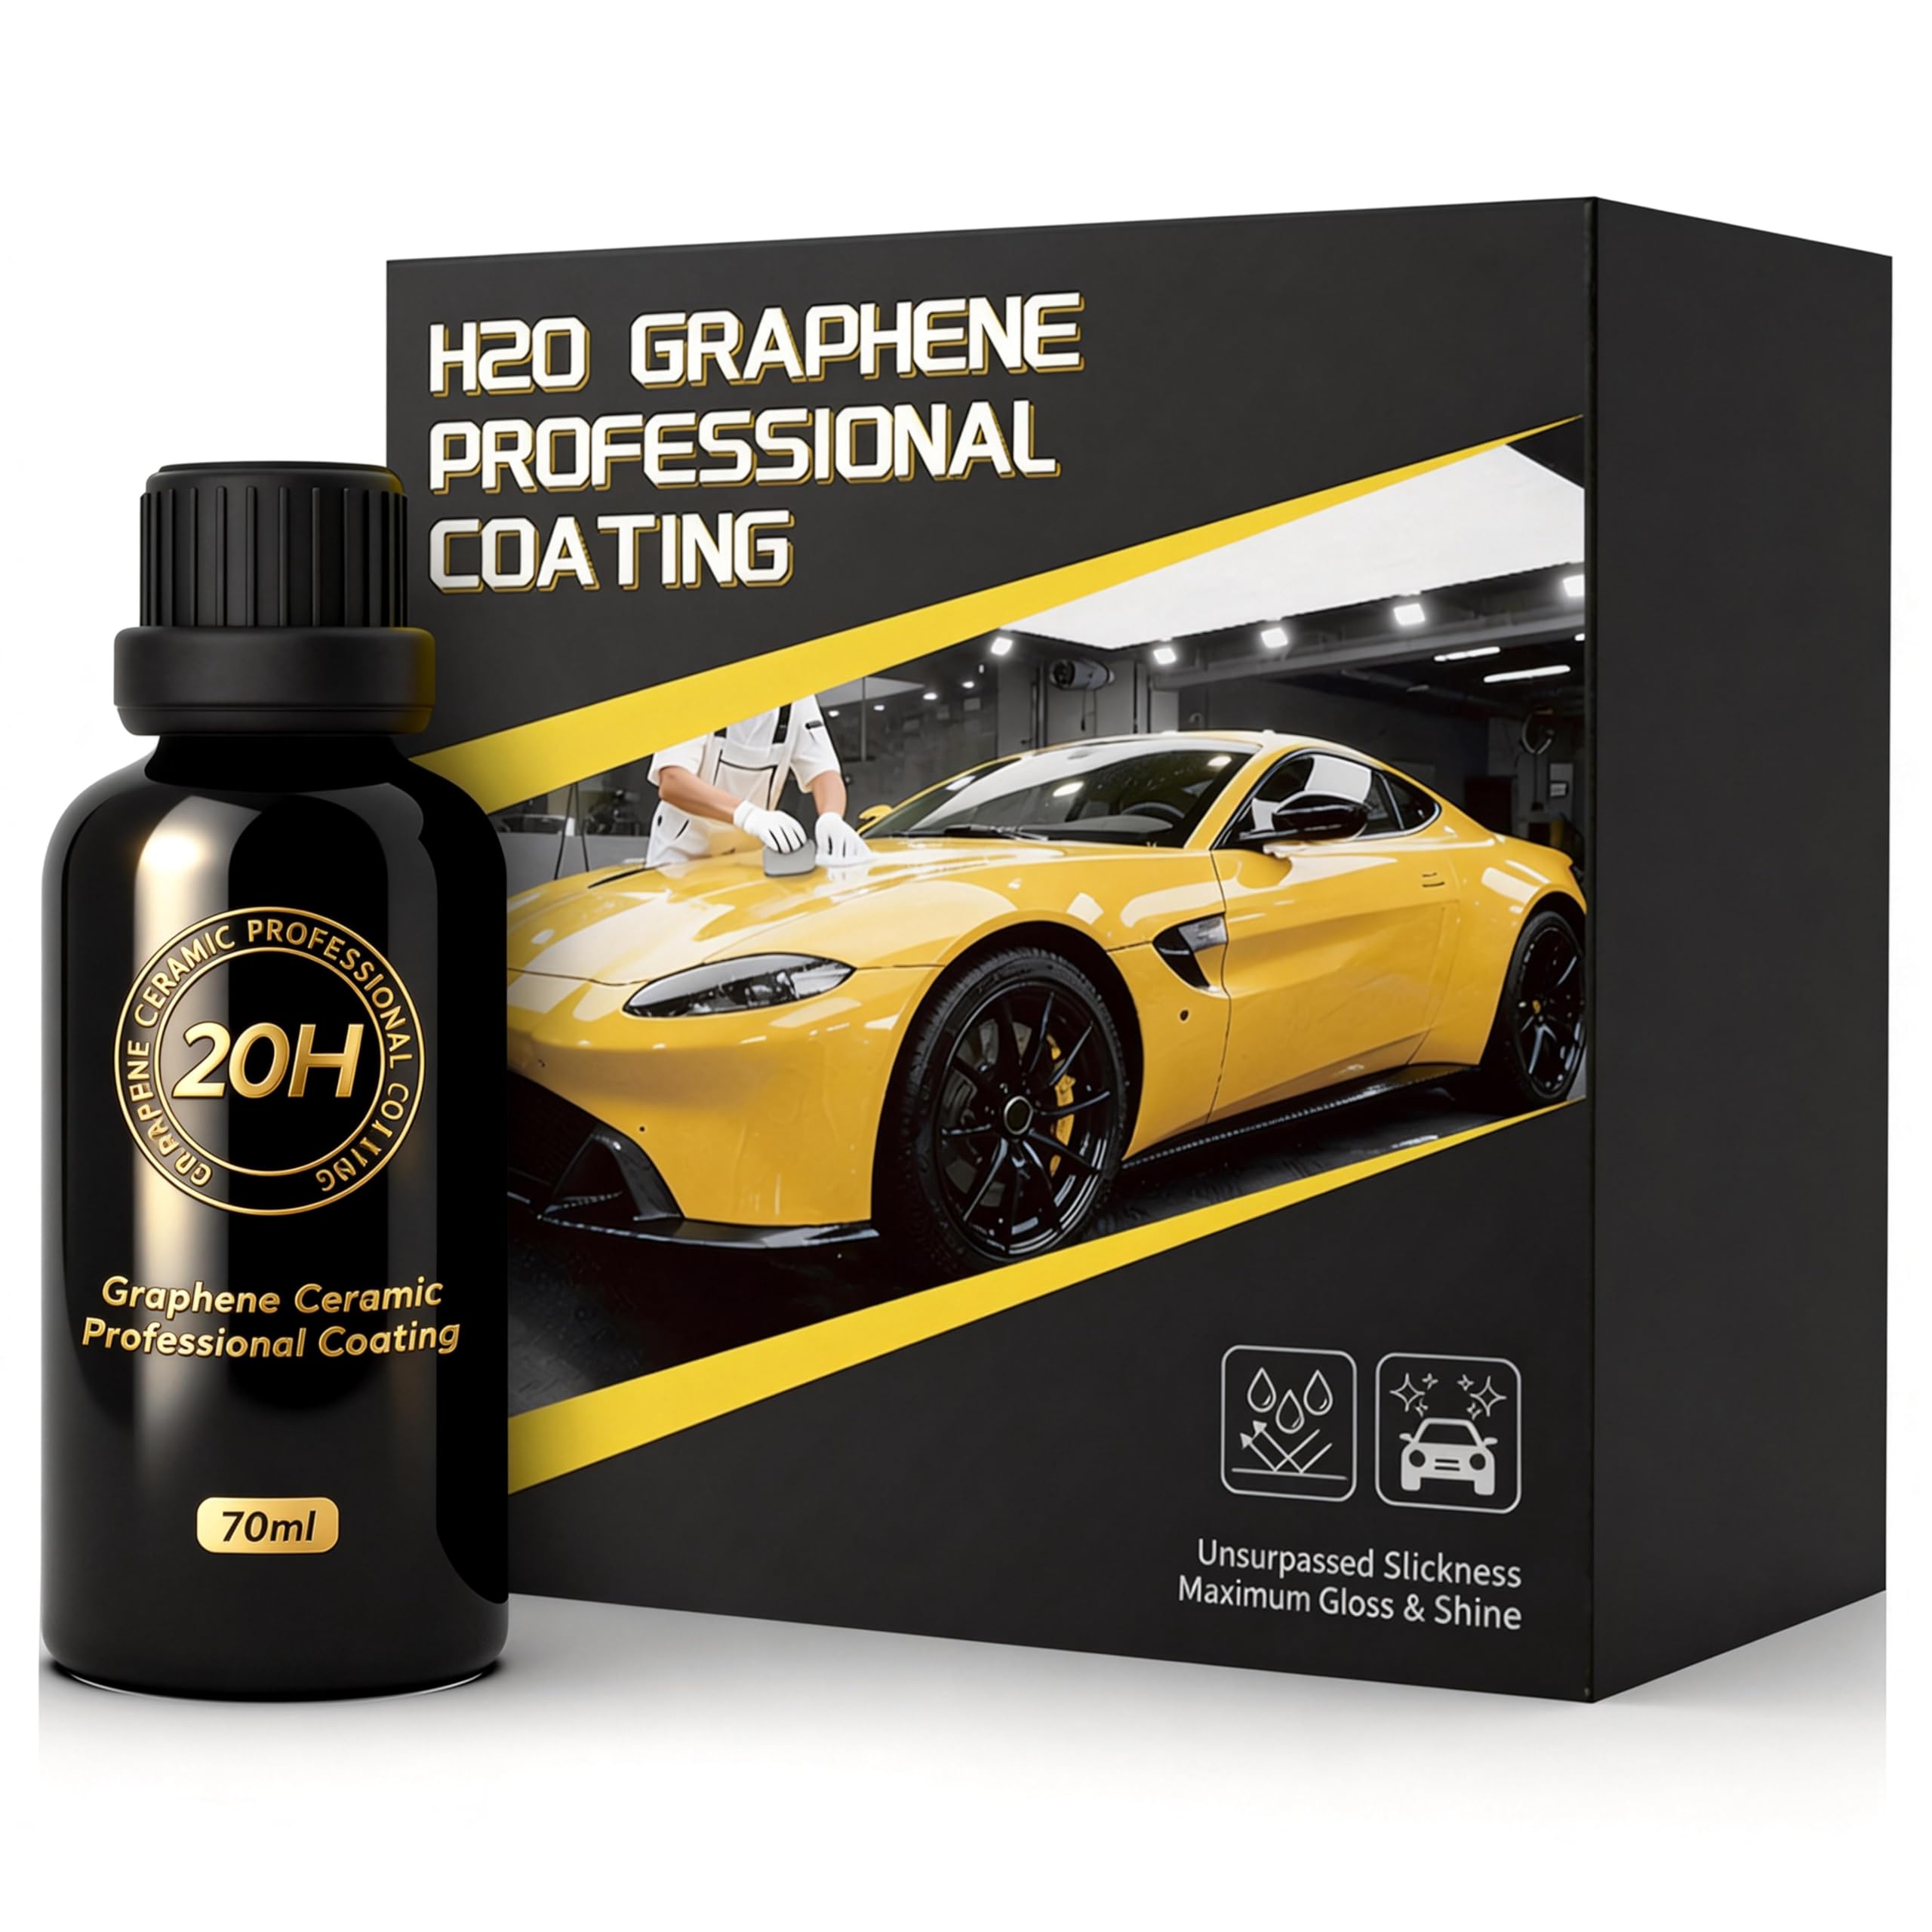
Some RVs don’t need “maximum durability.” They need visual redemption. Maybe your gel coat is still structurally fine, but it looks tired in the sun. Maybe your paint has micro-marring from years of campground washes. Maybe the front cap looks dull because it takes the worst of the weather. In those situations, the best coating is the one that makes you step back and say, “Oh… there it is.”
That’s the vibe owners describe with this Hatinix graphene coating: slickness, strong gloss depth, and a finish that seems to make small imperfections less obvious—especially the kind of tiny “sunline scratches” that drive people crazy on dark panels. On RVs, that’s valuable because you’re not always going to do a perfect paint correction on 300 square feet of surface. Sometimes you want a coating that rewards good prep but still looks great if your prep is “good enough.”
The included kit items (cloths, towels, gloves, applicators) also matter more than people admit. RV coating jobs fail when your towel game fails. If you’re using the same towel too long, you’re smearing residue and creating haze. A kit that pushes you toward clean towel discipline helps you get a cleaner result.
This is also a good pick if you’re the type who wants to coat your RV’s high-impact zones first: front cap, leading edges, lower skirting, and any area that collects road film. You can do those zones, then maintain with a spray product later without redoing the whole rig.
Why it works on older rigs
- “Depth and slickness” payoff – Owners describe a finish that looks richer and smoother, not just shiny.
- Micro-imperfection softening – Helpful for older paint/gel coat where full correction isn’t realistic.
- Kit supports better technique – Clean cloths and towels reduce smear/haze mistakes on large RV surfaces.
- Hydrophobic behavior improves cleaning – Dirt and grime tend to release more easily during washing.
Good to know
- Still a coating: thin application and proper buffing are mandatory to avoid high spots.
- On decals, treat edges gently and finish-buff with a dry towel to avoid residue lines.
- Plan your workflow: coating an RV is a sequence, not a single “spray and done” event.
Ideal for: older RVs and “needs a glow-up” rigs where you want a strong gloss transformation and practical protection without a full professional correction job.
4. Presta Hydro Protek (1 Gallon) – The Big-Rig, Big-Surface “Make Washing Easier” Workhorse
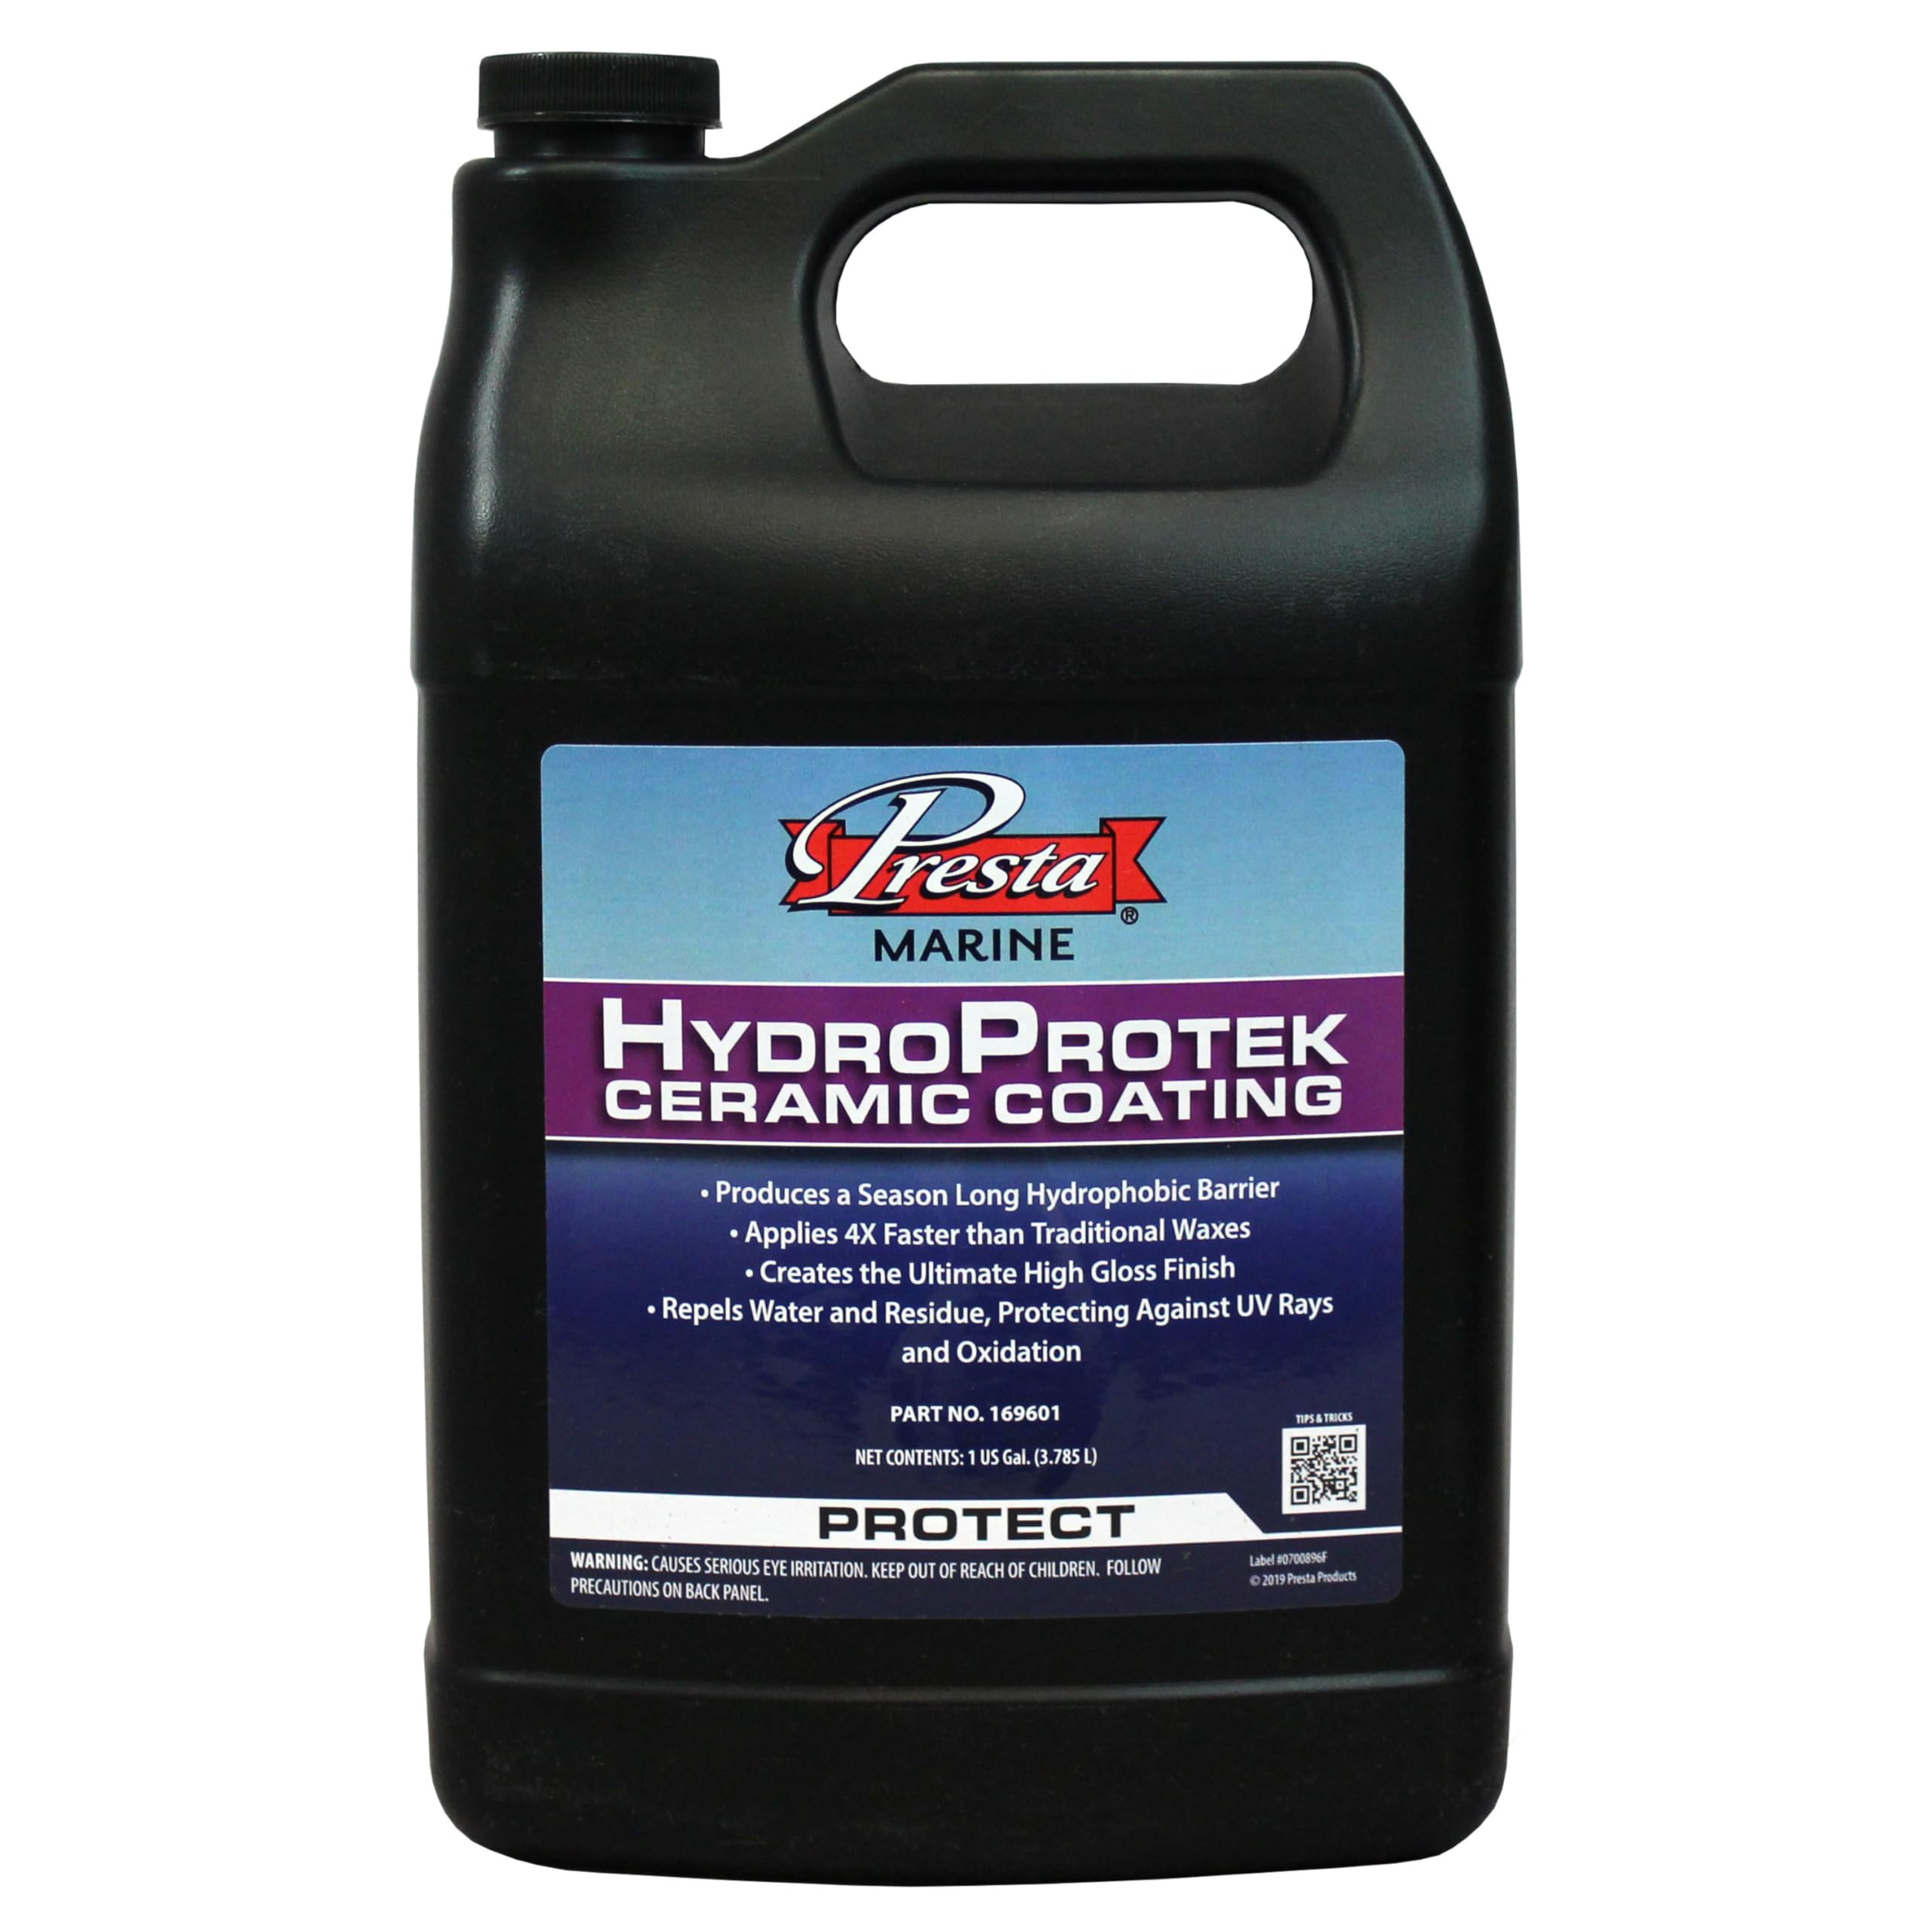
Let’s talk RV reality: sometimes you don’t want a tiny bottle that requires “surgical precision.” You want a product you can actually use on a 35–40 foot rig without feeling like you’re rationing drops. That’s the strength of Presta Hydro Protek in a gallon size—it’s positioned like a professional-friendly solution for large surfaces where coverage and speed matter.
Owner feedback around this product is very RV-coded: people mention using it on fifth wheels, boats, and big fiberglass surfaces, and loving how quickly it restores a glossy look and smooth feel. The most valuable benefit on RVs is what happens after: bug splatter rinses off easier, road film doesn’t “bite” as hard, and routine washes stop feeling like a scrubbing contest.
There’s also a subtle benefit to bulk products: you’re more likely to maintain consistently. RV protection fails when you do a big job once, then never refresh it. A gallon product makes it psychologically easier to do quick top-ups on high-impact areas (front cap, lower skirts, rear ladder area) because you’re not treating every spray like liquid gold.
The main caution is finish sensitivity: on some darker fiberglass/gel coat, owners sometimes report a haze if the product is over-applied or not buffed properly. That’s not unique to Presta—it’s a common theme for many wipe-on products. The fix is simple: apply thinner and buff with a clean towel. But it’s important on RVs because black stripes and dark graphics show everything.
Why it fits RV ownership
- Bulk coverage makes sense – Designed for big surfaces where small bottles feel impractical.
- Fast gloss transformation – Owners often mention gel coat looking revived quickly.
- Maintenance-friendly – Easy to refresh specific zones instead of redoing the whole rig.
- Multi-surface versatility – Commonly used on fiberglass, vinyl, glass, and more on RV-like setups.
Good to know
- On dark fiberglass, over-application can haze—thin coats and clean towels prevent it.
- Let the product bond; rushing the wipe-down can lead to uneven gloss on huge panels.
- Best results come from clean, decontaminated surfaces—especially on older gel coat.
Ideal for: large rigs (fifth wheels, motorhomes, boats/RV crossover owners) who want a big-surface product that makes washing and bug removal easier over time.
5. 303 Touchless Sealant (1 Gallon) – The RV Owner’s “I Can Do This Anywhere” Rinse-Off Hack

Touchless protection is a gift to RV owners because wiping an entire rig is where most people quit. 303 Touchless Sealant is built around a simple workflow: wash, keep the surface wet, spray lightly, rinse immediately. That “spray and rinse” rhythm fits how RVs get cleaned in the real world—driveway washes, campground washes, quick stops before storage.
Where 303 touchless products shine most is on areas that are annoying to hand-wax: wheels, roof sections, ladder rungs, and lower skirting. Owners often describe better water behavior right away (strong beading) and easier cleanup later because grime has a harder time bonding. On RVs, that can translate to less black streaking stain and less aggressive scrubbing—which also means fewer micro-scratches over time.
But the “touchless” promise comes with a rule: don’t let it dry on the surface, and don’t over-apply. This is exactly where people mess up. If you drench a panel and it runs, you can create streaking or water spots, especially in sun or hard water. The best technique is surprisingly conservative: light mist, one panel at a time, rinse immediately, then dry. Think of it as a rinse-applied layer, not a thick coating.
If you’re building an RV protection routine, 303 Touchless is best as a maintenance layer. Put a stronger foundation product underneath (true coating or strong spray ceramic), then use 303 after washes to keep the rig behaving like it’s freshly protected. That combination is how RV owners get the “always glossy” look without living in their driveway.
Why it’s RV-friendly
- Fast application – Perfect when you don’t have time (or patience) for full wipe-down waxing.
- Great on wheels/roof – Touchless products excel on the most annoying RV areas.
- Strong beading boost – Helps keep the RV cleaner between washes when used correctly.
- Ideal maintenance layer – Works best as a refresher over a foundation protection layer.
Good to know
- Over-application and letting it dry can cause streaks/spots—light mist and immediate rinse is the secret.
- Hard water still requires proper drying if you want a spotless finish.
- Best results often come with a pressure washer for even rinse distribution on big panels.
Ideal for: RV owners who want maximum speed and convenience, and who prefer a “spray, rinse, dry” workflow that can be done almost anywhere.
6. Swift Touchless Ceramic Foamable Wax – The “Foam It, Rinse It, Done” Solution for Big RVs

If the idea of hand-waxing an RV makes you laugh (or cry), Swift’s foamable wax concept is the kind of product that feels like it was made for you. You add it to a foam cannon or pump sprayer, apply to a clean wet surface, let it dwell briefly, then rinse. The goal is simple: a slick, glossy, hydrophobic layer without the “wipe every inch of the rig” labor.
This matters most on huge rigs: long fifth-wheel sides, tall Class A panels, and any setup where the roof is hard to access safely. Owners often mention using it successfully on campers and motorhomes—including the roof—because the touchless rinse approach reduces the need to stand there buffing overhead surfaces (which is where streaks and missed spots happen).
The real secret to loving foamable wax products is dilution discipline and dwell discipline. Too strong and you waste product; too weak and you don’t get the payoff. Too long on the surface and you risk spotting. On RVs, your environment changes fast: sun hits one side while the other is shaded. So your best strategy is panel-by-panel, working around the rig in a deliberate loop (front cap, passenger side, rear, driver side). You’re not racing—you’re controlling variables.
This product is a strong pick as a “maintenance wax layer” that you can apply repeatedly without hating the process. If your rig is already coated, this can function like a hydrophobic refresher. If it’s not coated, it can still give a satisfying gloss boost while you decide whether you want to do a full coating job later.
Why RV owners like it
- Touchless shine for big surfaces – Foam/rinse is the only realistic method for many large RV owners.
- Great “roof strategy” – Reduces the need for buffing overhead areas where streaks usually happen.
- Strong gloss and water behavior – Designed to leave a hydrophobic layer that makes future washes easier.
- Repeatable routine – Works best as a recurring maintenance step, not a once-a-year ordeal.
Good to know
- Sun and heat are your enemy—work in shade or early/late hours for best results.
- Dwell time matters; don’t treat it like soap that can sit indefinitely.
- For the longest protection, pair with a stronger foundation layer underneath.
Ideal for: big-rig owners who want the fastest gloss and hydrophobic layer possible using a foam cannon or pump sprayer workflow.
7. Adam’s Graphene Boost – The “Make It Feel Coated Again” Product for Busy RV Owners

Every RV owner eventually experiences this moment: the rig still looks good, but it doesn’t feel as slick as it used to. Water doesn’t bead as aggressively. Bugs don’t wipe off as easily. The shine is still there, but the “coated magic” has softened. That’s when a true booster earns its keep.
Adam’s Graphene Boost is built for that exact situation. Detailers like it because it plays well with coated surfaces, and DIY owners like it because it’s easy: spray, spread, buff. On RVs, the huge win is that you can apply it strategically. You don’t have to do the entire rig every time. Hit your front cap, your bug zone, your lower skirts, and your ladder-side panels. Those are the areas that take the abuse.
In real user feedback, two themes show up a lot: it’s easy to use (low drama), and it adds noticeable gloss depth—especially on darker colors. That “dark color love” matters on RVs because black stripes and dark accent panels are usually the first to look tired and the first to show streaking. A booster that levels cleanly can make those accents look freshly detailed without needing heavy polishing.
This is also a smart choice if you don’t have a climate-controlled space. True coatings often require stable conditions. A booster lets you maintain results even when your only workspace is a driveway with unpredictable sun. It’s the difference between “I never have time to detail” and “I can keep this looking sharp in 20 minutes.”
Why it’s perfect for maintenance
- Restores slickness and beading – Helps your RV behave like it’s freshly protected again.
- Easy application – Spray, wipe, buff; great for busy owners.
- Strong on dark accents – Adds depth and gloss where streaking is most visible.
- Works as a standalone or topper – Useful whether your RV is coated or not.
Good to know
- Like all boosters, surface cleanliness matters; applying over grime can smear or reduce bond quality.
- Use clean microfiber towels and switch often—large RV panels “load” towels quickly.
- Best results come from thin application; more product rarely equals more shine.
Ideal for: RV owners who want to maintain a coated look with minimal time—especially on high-impact zones like the front cap and lower skirting.
8. 3D Bead It Up (1 Gallon) – The “Quick Gloss, Quick Beading” Add-On That Makes Washing Fun Again

Some products aren’t about “maximum lifespan.” They’re about maximum satisfaction per minute. That’s exactly what bead maker style sprays deliver: you apply them quickly, you feel the surface get slick, and you watch water behave like it’s scared of your RV. For a lot of owners, that feeling is what makes them keep up with maintenance.
3D Bead It Up has a reputation for strong slickness and high-gloss enhancement—especially when used as a booster over a real coating. That makes it a great “layering” product: if your RV has a foundation coating, Bead It Up helps restore the easy-clean behavior between deeper applications. If your RV is not coated, it can still act like a fast sealant to make washes easier and reduce grime bonding.
The way to get the best result on RVs is to treat it like a drying-aid style product: apply lightly, spread evenly, buff clean. Because RV panels are huge, you want a predictable, non-streaky technique. The trick is not overworking it. Spray a little, spread with one towel, buff with another. When you keep that rhythm tight, you get glossy results without smears.
This is also a smart gallon purchase for RV owners because you’ll use more product than you think—simply due to surface area. A small bottle that seems “fine” for a car can feel laughably small on a fifth wheel. A gallon makes the product feel usable instead of scarce.
Why RV owners keep it around
- Strong beading and slickness – Makes the RV feel freshly protected quickly.
- Excellent topper behavior – Works best over coatings, extending the “coated” feel between deeper maintenance.
- Fast application rhythm – Perfect for owners who wash frequently and want a quick payoff.
- Gallon size fits RV reality – Surface area makes bulk sizes more practical.
Good to know
- As a standalone product, durability depends heavily on environment and wash frequency.
- Over-spraying can cause streaks; less product and more clean towels is the fix.
- Best results come on clean surfaces—don’t use it as a “cover dirt with shine” shortcut.
Ideal for: RV owners who wash regularly and want a fast, satisfying gloss + beading boost that keeps the rig easy to maintain.
9. Adam’s Advanced Graphene Ceramic Spray Coating Kit – The “Prep + Coat + Maintain” Package for RV DIY Success

Most “spray ceramic” failures happen for one reason: people apply them on top of leftover oils, wax, or road film and then blame the product. On RVs, that mistake is even more common because the surfaces are large and people rush prep. That’s why a kit like this is smart: it doesn’t just give you the coating, it nudges you into doing the steps that actually create a clean, bondable surface.
The value of an all-in-one kit is not the extra bottles—it’s the workflow. You wash, you properly prep, you apply the spray coating with controlled technique, and then you maintain the finish with a booster. That’s how you keep your RV looking like it’s protected for the long haul, instead of getting a short-lived gloss burst that fades after a few washes.
Owners who love Adam’s spray coatings typically describe three payoffs: strong gloss, a slick surface that reduces grime adhesion, and easy application compared to traditional wax. For RVs, the “easy application” is critical because you can coat in sections. You can do one side today, the rear tomorrow, and the front cap next week—without it feeling like you failed. Sprays are flexible. Coatings demand one big controlled session.
If you’re nervous about doing a true coating on your RV, this kit is an excellent “confidence bridge.” You get a very protective, very glossy spray layer—and you can maintain it easily. Then, later, if you want a true coating, you’ll already have developed the towel discipline and section-by-section mindset that makes coatings successful.
Why the kit format works
- Better prep = better results – Kits help prevent the most common RV mistake: coating over contamination.
- Section-by-section flexibility – Perfect for RVs where you can’t do everything in one ideal day.
- Strong gloss and slickness – Spray coatings can look remarkably “coated” when applied properly.
- Maintenance built in – Keeps your RV looking fresh without starting over every time.
Good to know
- Spray coatings still require clean towels and controlled application; sloppy wiping can streak.
- On hot panels, work smaller sections and buff quickly to avoid smearing.
- For maximum long-term durability, true coatings still win—but sprays win on repeatability.
Ideal for: RV owners who want an easy-to-follow system that covers prep, protection, and maintenance—especially first-timers.
10. Adam’s Advanced Graphene Ceramic Spray Coating – The “Big Shine, Big Coverage” Spray for RV Panels

This is the spray coating version of a simple promise: “I want my RV to look freshly detailed, but I don’t want to do a full coating job.” Adam’s Advanced Graphene spray coatings are popular because they deliver a strong gloss and a slick feel with a user-friendly spray-and-buff process. That is exactly what RV owners need because RV detailing is mostly about repeating small wins over time.
In real user feedback, two things come up repeatedly: ease of use and impressive shine. People often describe it as the first product that made them feel like ceramic protection “actually works” compared to cheap spray waxes. For RVs, it shines on glass and painted surfaces because it can improve water behavior in rain and make bug removal easier. And because it’s a spray, you can safely focus on the areas that matter most instead of treating the entire RV as a single project.
Another RV-specific benefit: you can layer it. Many owners do one coat, then a second coat after the next wash. That layering strategy is useful on the front cap and the bug zone where the coating gets hammered. Instead of chasing perfect longevity claims, you build consistent performance.
The main technique tip is towel discipline. Large RV panels quickly load your microfiber with product, and once a towel is loaded it stops buffing cleanly. If you want a clear, streak-free finish, rotate towels early and often. The “extra towels” is not waste—it’s the difference between a glossy RV and a smeary RV.
Why it’s a strong RV spray
- Big gloss payoff – Delivers a “detailed” look that shows immediately.
- Flexible application – Perfect for doing RVs in sections and refreshing high-impact zones.
- Works on multiple exterior surfaces – Helpful for RVs with mixed materials and lots of trim.
- Layering works well – Multiple light coats can keep the RV looking consistently protected.
Good to know
- Rotate towels aggressively—loaded towels cause streaks.
- On hot panels, work smaller sections and buff sooner.
- If you want maximum long-term durability, this is best as a maintenance layer over a foundation coating.
Ideal for: RV owners who want a powerful spray coating they can apply quickly and refresh often—especially on glass, paint, and bug-heavy zones.
11. Resist Graphene Spray Coating (Ethos) – The “Glass Finish” Spray for People Who Refresh Often
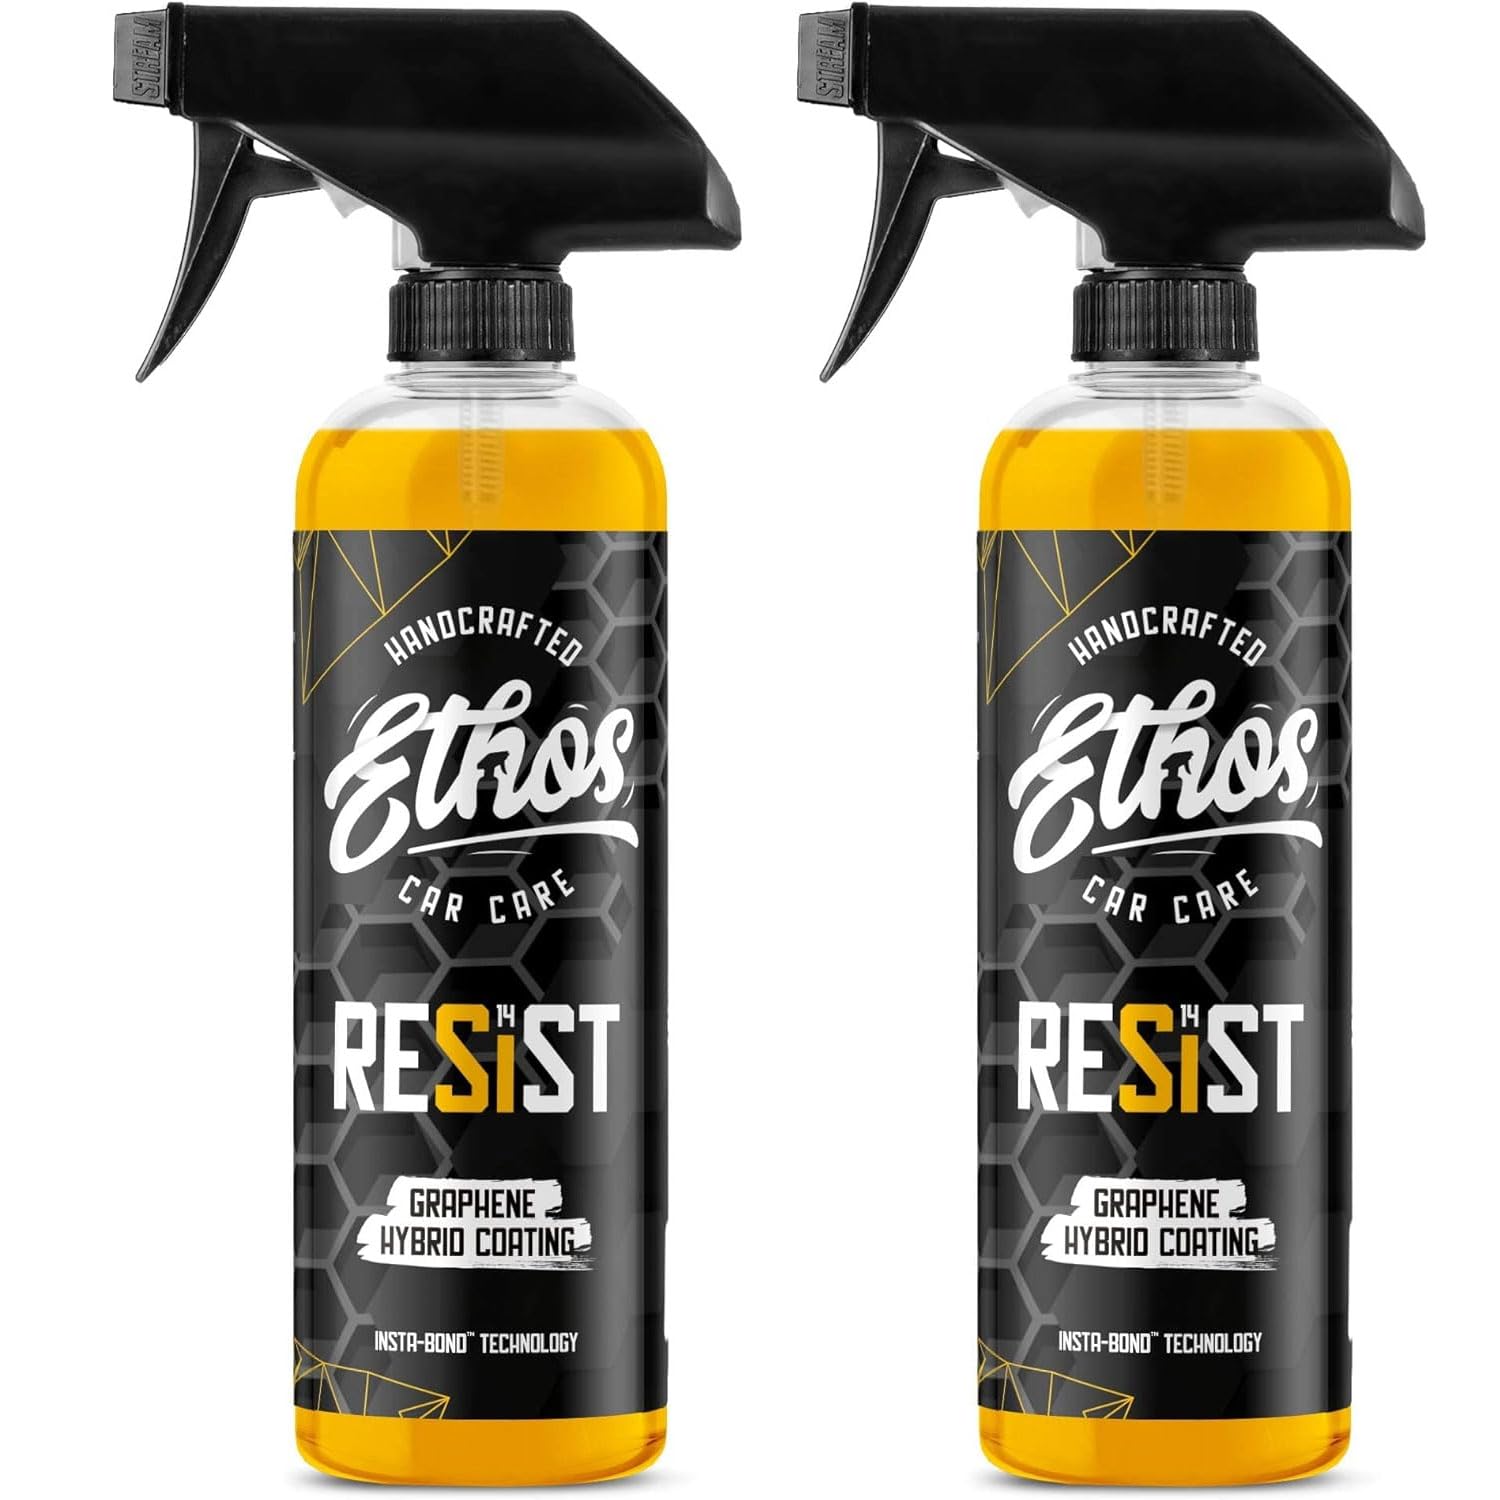
Some RV owners don’t want a product that promises the world—they want a product that’s so easy they’ll actually use it. That’s where Ethos Resist fits. It’s a hybrid graphene + SiO₂ spray concept designed to be wiped on and buffed out quickly, leaving a slick, glossy finish that feels “like glass.”
The most honest pattern in real-world reviews is also the most useful: the finish is impressive, the application is easy, but durability depends heavily on conditions and expectations. For RV owners, that’s not a flaw—it’s a strategy question. If you’re willing to refresh monthly (or on your wash rhythm), a product like this becomes a simple routine. And when you maintain often, your RV stays in that “freshly detailed” zone instead of swinging between glossy and neglected.
This is also a great choice for accent-focused maintenance: black stripes, glossy painted sections, and glass. A lot of people report that after a second coat (applied after washing), water behavior improves dramatically. That’s a useful technique on RVs: do a light coat, then a follow-up coat after the next wash to “lock in” the slick feel.
The biggest mistake to avoid is over-application. When people complain about streaks in this category, it’s almost always because they sprayed too much product and tried to buff it with one towel. On an RV, always assume you need multiple clean towels and smaller sections. If you follow that rule, these products are ridiculously satisfying.
Why RV owners choose it
- Very slick finish – Great “glass feel” that makes washing and drying easier.
- Easy application – Spray, wipe, buff; ideal for quick maintenance cycles.
- Layering improves results – A second coat after a wash often boosts beading and gloss.
- Perfect for accents – Makes dark stripes and glossy panels look freshly detailed fast.
Good to know
- Real-world durability varies; best for owners who refresh often.
- Use multiple clean towels—one towel jobs usually smear on RV-sized panels.
- Don’t apply in direct sun; heat increases streaking risk for most spray products.
Ideal for: RV owners who like quick monthly refreshes and want maximum slickness and gloss per minute of effort.
12. Nexgen Ceramic Spray (SiO₂) – The Clean, Repeatable “Spray-Wipe-Buff” Choice for RV Owners
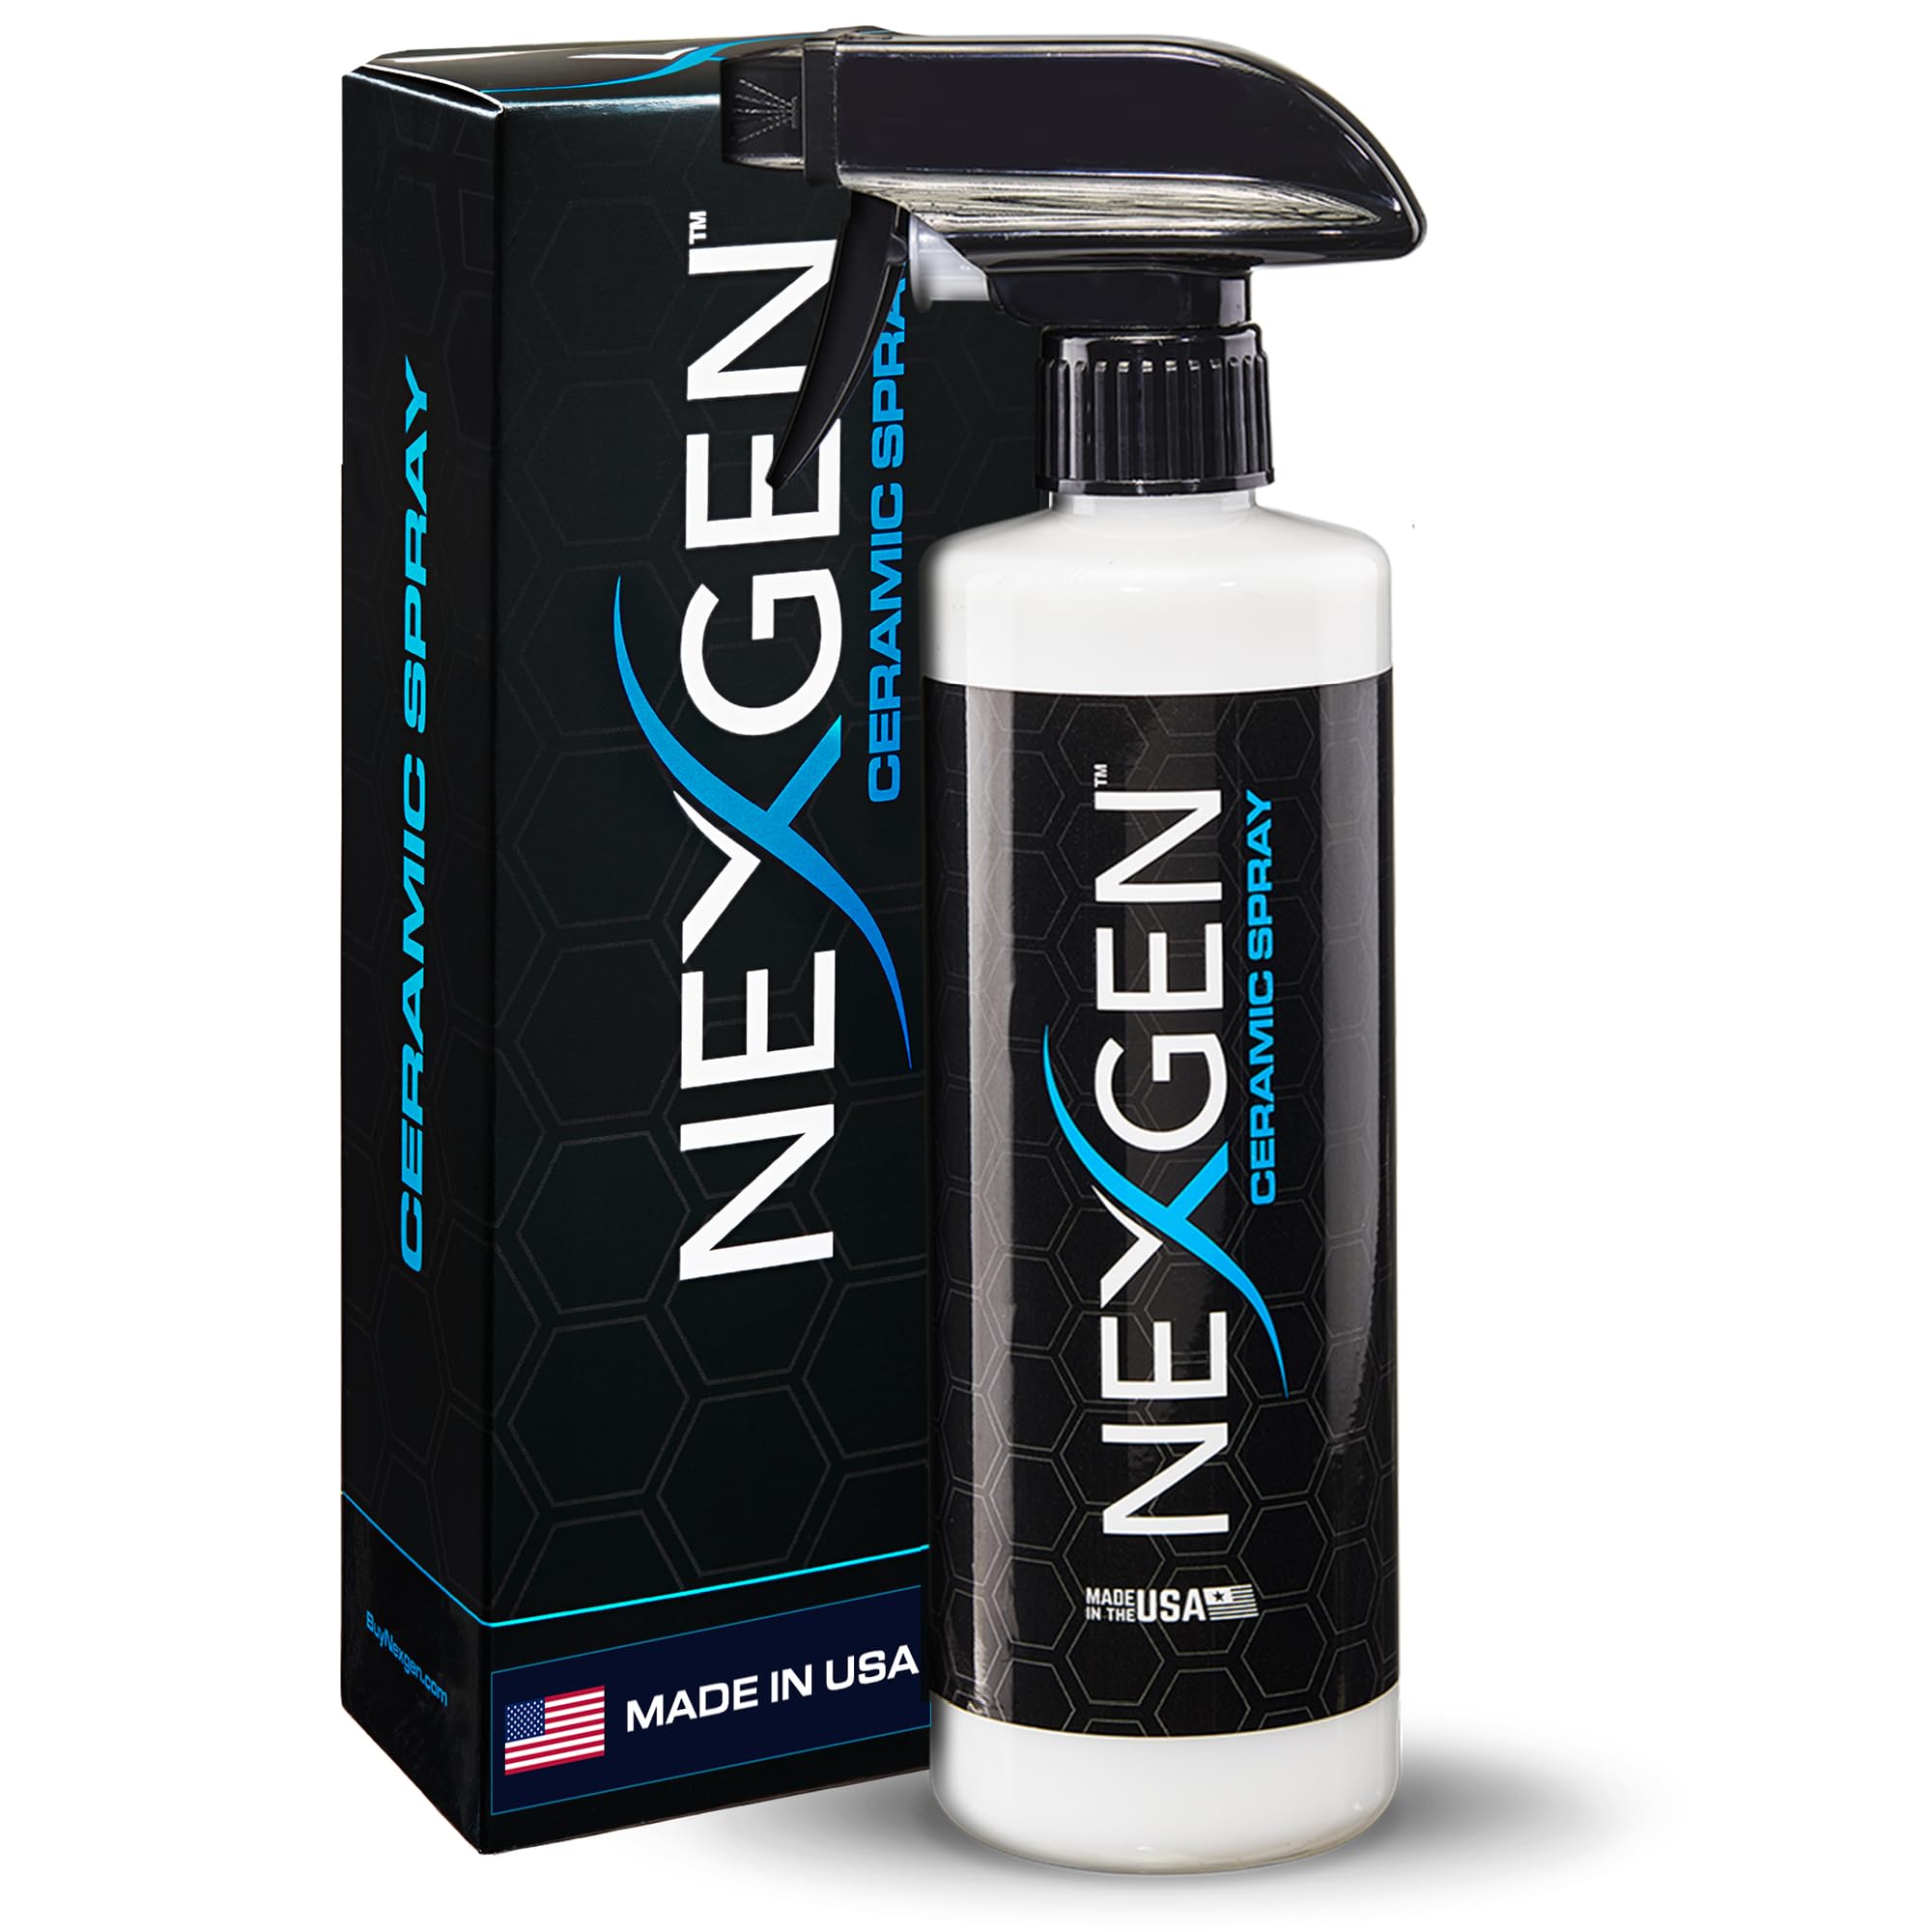
Nexgen is popular for a reason: it offers a simple, repeatable process. On RVs, repeatability is everything. You don’t want a product that’s amazing only when conditions are perfect. You want a product that still works when you’re doing this in a driveway, in partial shade, with a rig that’s too big to “do all at once.”
The most useful real-world advice from Nexgen-style users is towel strategy. People who get great results typically use multiple microfiber towels—one for spreading, one for buffing, and they rotate frequently. That matters on RVs because your towel saturates quickly on large surfaces. If you keep buffing with a loaded towel, you’re basically smearing product instead of leveling it.
Another real-life detail that matters on RVs: contamination. If you coat a surface and something lands in it (dust, a bug, a tiny insect), it can get trapped. That’s not unique to Nexgen—it’s a reality of any protective film. The solution is not panic; it’s setup: work in good lighting, choose calmer wind conditions, and keep your panels clean between steps. Small improvements in setup produce huge improvements in final appearance.
If you want a straightforward spray that gives strong gloss and makes bug cleanup easier, Nexgen is a safe, practical pick. It’s not trying to be the most exotic chemistry in the world; it’s trying to be the product you can actually use consistently.
Why it’s a practical RV spray
- Simple workflow – Easy steps that are repeatable on RV-sized jobs.
- Strong shine payoff – Many users describe a deep gloss that looks “professionally finished.”
- Multi-surface use – Helpful for RV paint, glass, trim, and other exterior pieces.
- Great for consistency – Works well when used regularly as part of a maintenance rhythm.
Good to know
- Use lots of clean towels—this is the #1 factor in streak-free results on big rigs.
- Work in controlled conditions if possible; wind and dust can compromise any spray application.
- For maximum longevity, pair with a stronger foundation layer underneath.
Ideal for: RV owners who want a simple spray sealant that delivers strong shine and is easy to repeat on a schedule.
13. RV Ceramic Coating Polish Spray (toretark) – The “Quick Detail Without the Chemical Smell” Option
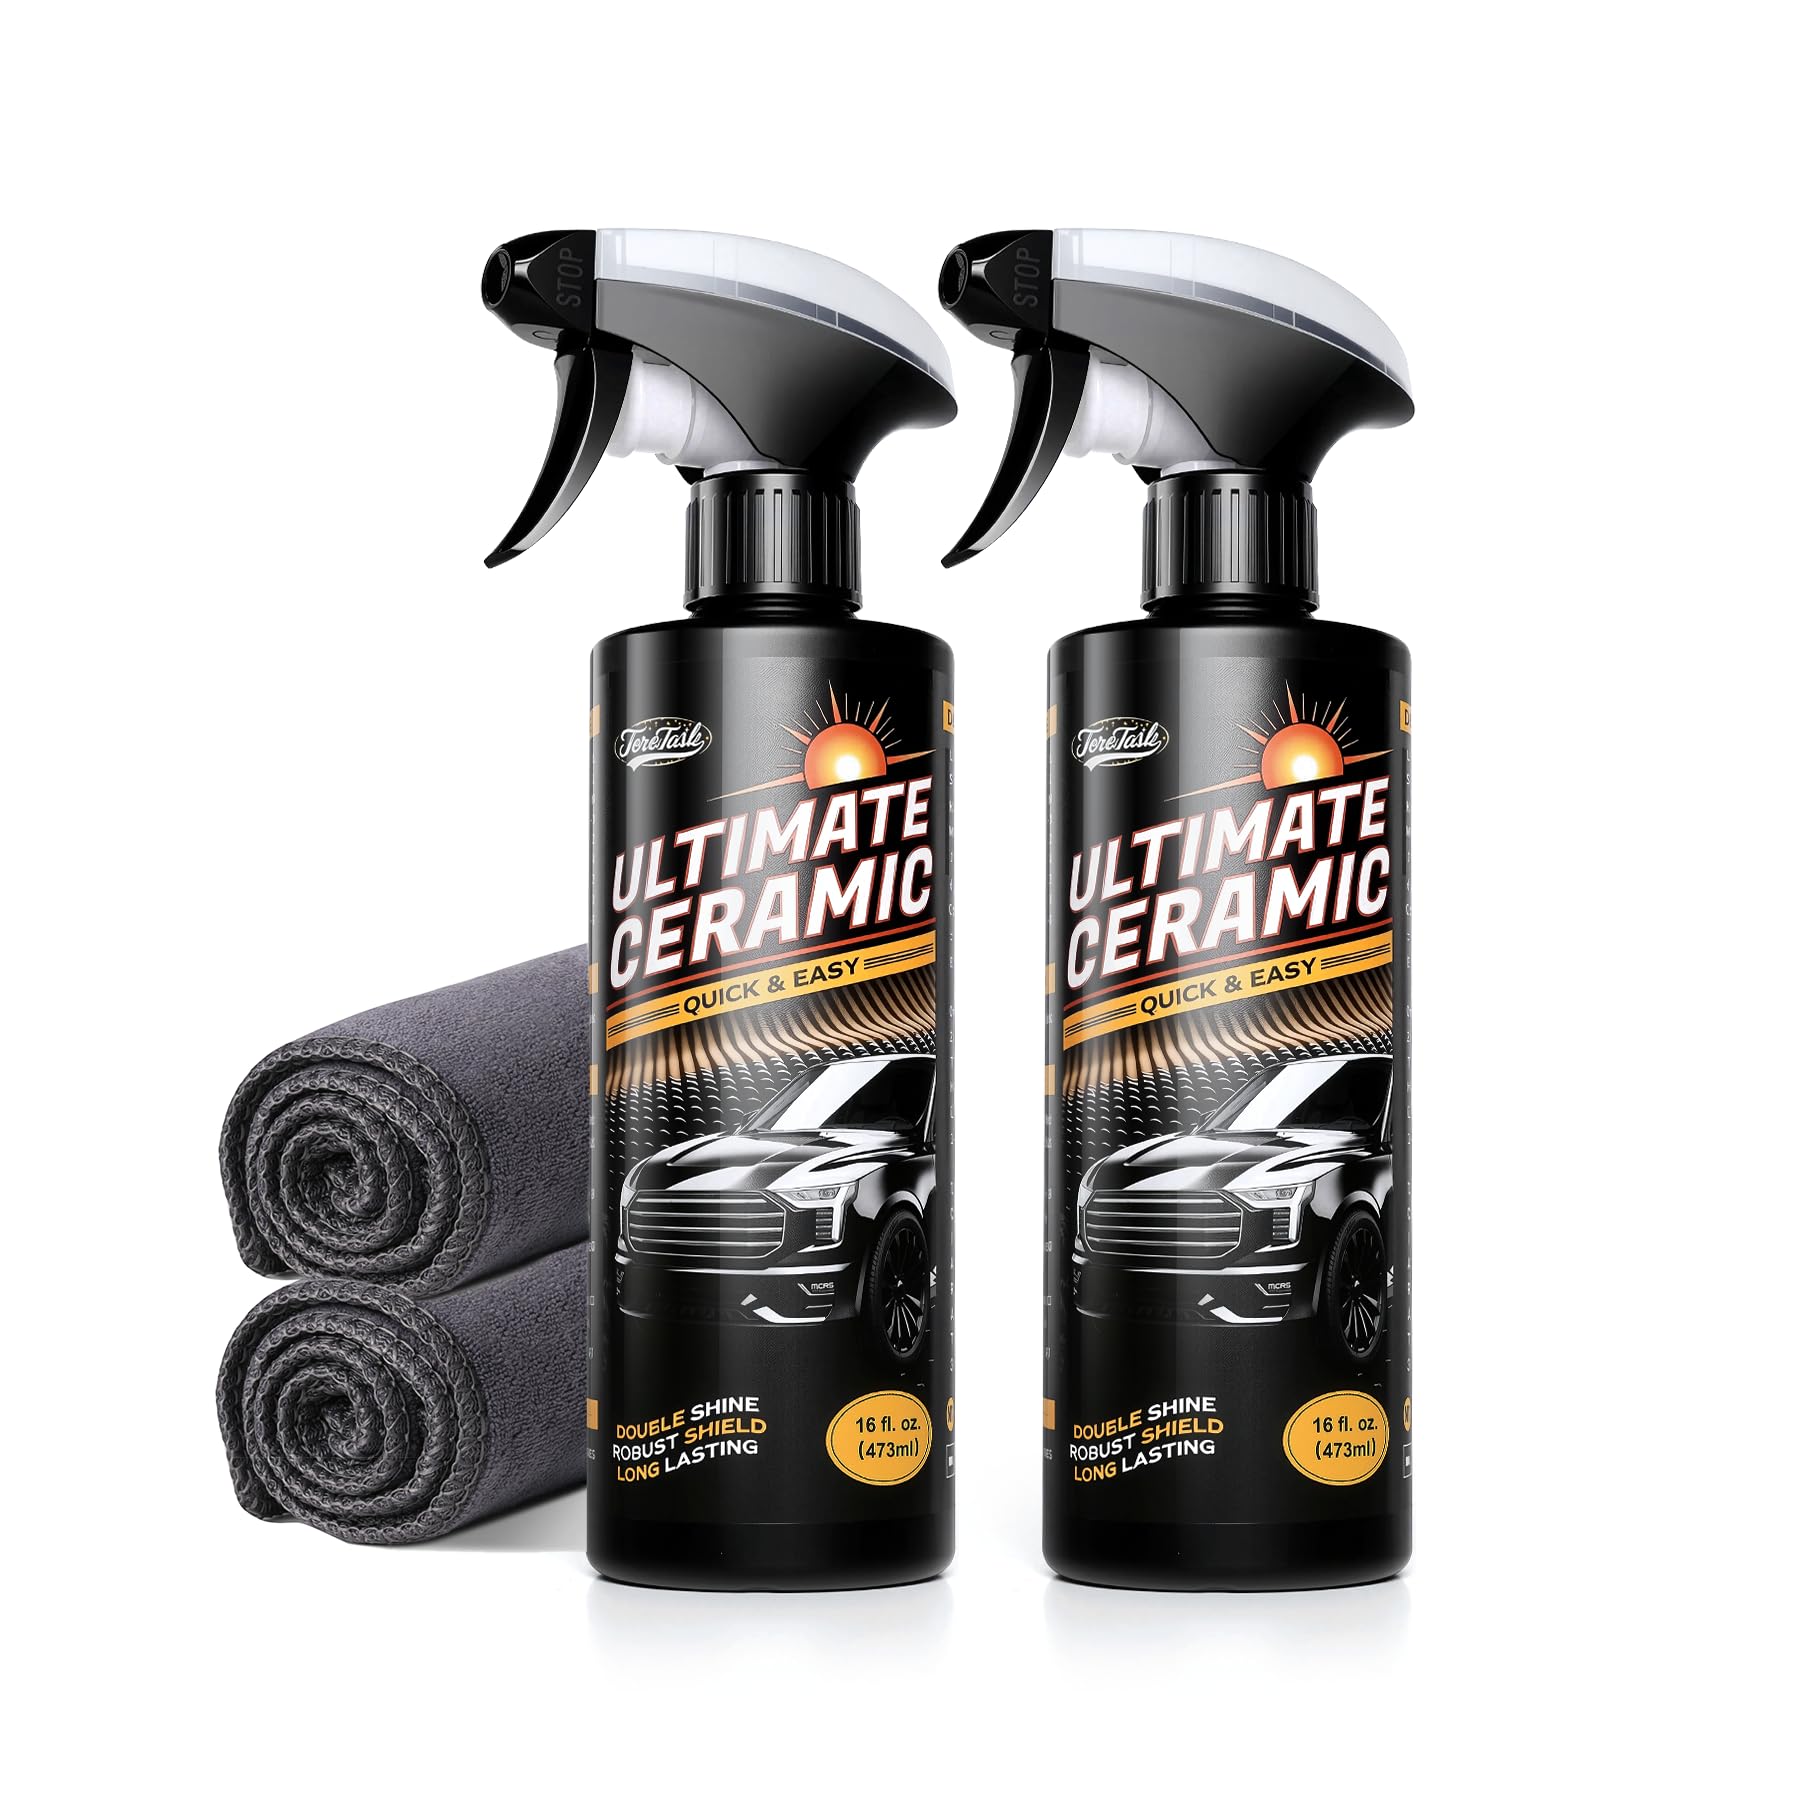
Some RV owners avoid detailing products because of one very real issue: smell. Working around a large rig can mean you’re breathing whatever you’re spraying for a long time—especially if you’re doing it in a garage bay or under an awning. So a “no pungent smell” ceramic spray concept isn’t just comfort—it’s usability. If the product is unpleasant, you’ll use it once and quit.
This toretark RV polish spray is marketed as a high-shine, easy-application sealant with a nozzle designed for either fine mist coverage or targeted spraying. That nozzle detail actually matters on RVs because you have different zones: huge flat panels want fine mist; seams and trim want precision. A product that lets you control output can reduce overspray and reduce the “where did that streak come from?” mystery.
In owner feedback, people consistently emphasize shine and ease of application. That’s exactly what a spray sealant should do: make the RV look better quickly, and make the surface more hydrophobic so it stays cleaner between washes. Some users also love the glass performance (windshield beading), which can be a big quality-of-life upgrade in rain.
The key technique note is written right into the product’s own logic: apply thinly. High-concentration sprays can leave residue if you apply too much. On RVs, “too much” is the default mistake because people think more product equals more protection. It doesn’t. Thin coat, spread, final buff. That is how you get a crystal-clear finish on decals and dark accents.
Why it can fit RV life
- No pungent smell – Makes long application sessions more tolerable for sensitive users.
- Strong shine focus – Designed to create a “glass look” quickly.
- Nozzle control – Fine mist for big panels, targeted stream for trim/seams is genuinely useful on RVs.
- Hydrophobic behavior – Helps keep surfaces cleaner longer between washes when applied correctly.
Good to know
- Apply thin—over-application can create residue and spotty areas.
- Always finish-buff decals and dark panels with a clean dry towel for clarity.
- As a spray sealant, it’s best for maintenance—not a substitute for a true coating if you want maximum longevity.
Ideal for: RV owners who want a quick, glossy spray sealant without harsh odor and who value nozzle control for big-panel coverage.
14. TEC582 Ceramic Detail Spray (1 Gallon) – The “Keep It Glossy Between Washes” Pro-Style Routine

TEC582 has a reputation in the detailing world as one of those “why is this so easy?” products. It’s not a true ceramic coating—but it delivers a very convincing combination of gloss, slickness, and hydrophobic behavior. For RV owners, that’s valuable because it can be used on wet or dry surfaces and doesn’t require a complicated curing ritual.
Real users describe it as a reliable final-step product: spray, wipe, flip towel, buff. They mention that it makes paint look deeper, it can reduce the look of light water spots and light swirls, and it creates a glass-like cleanliness on windows that’s hard to get with traditional cleaners. On RVs, that glass performance is a bigger deal than people realize because streaky windows make a rig look dirty even when it’s clean.
The best way to use TEC582 on an RV is as a “between-wash protector.” After washing, mist it lightly as you dry the rig. This gives you three benefits in one step: you reduce towel drag (less scratching), you add gloss, and you reinforce water behavior. That turns routine washes into maintenance sessions without adding extra time.
If you’re building a simple RV protection system, TEC582 can be your “always keep this on hand” product. It won’t replace a foundation coating, but it keeps your RV looking like you care—without living with a polisher in your hand.
Why it’s a great RV helper
- Spray-and-wipe simplicity – Easy enough to use often, which is what makes protection last.
- Great glass performance – Helps windows look crisp and “invisible,” which upgrades the whole rig’s appearance.
- Works wet or dry – Excellent as a drying aid after washing the RV.
- Gallon size fits RV use – You’ll actually use it regularly on large surfaces without rationing.
Good to know
- Not a true coating; best used as a maintenance layer or standalone quick protection.
- Use fewer sprays on hot panels to avoid streaking; buff promptly.
- Keep microfiber towels clean and rotate—loaded towels are the #1 cause of smears.
Ideal for: RV owners who want an easy, reliable gloss + slickness product they can use frequently—especially as a drying aid and glass finisher.
15. Chemical Guys HydroSuds Ceramic Wash Soap – The “Wash That Leaves Something Behind” Routine Upgrade

This is the “supporting actor” of the list—but on RVs, the supporting actor can be the difference between loving your finish and slowly losing it. A ceramic-infused wash soap won’t replace a coating. But it can improve your wash experience and help maintain the glossy, hydrophobic feel between protection layers. If you wash often, that matters.
HydroSuds is designed to foam heavily (foam cannon, foam gun, or bucket wash) while leaving behind a mild ceramic-style shine boost. Owners often describe it as cleaning well and making the surface look brighter and easier to dry, with improved water behavior after rinsing. On RVs, this is especially helpful because drying huge panels is where water spots form. Anything that makes water release faster reduces your risk of mineral spotting.
The practical way to use a ceramic wash soap on an RV is simple: use it as your regular wash, then apply your maintenance layer afterward (booster, bead maker, or touchless rinse). That combo gives you the best of both worlds: clean surface plus refreshed protection. And because this soap is designed to be coating-friendly, it can be used on coated rigs without stripping the protection you worked for.
If you’re the kind of owner who washes after every trip or every few weeks, upgrading your soap is one of the easiest wins. It’s also a smart “gateway” product if you’re not ready to coat the entire RV yet but want a better wash and a better look right away.
Why it’s useful for RV routines
- High foam cleaning – Helps lift grime more gently, reducing wash-induced scratching.
- Gloss and water behavior boost – Leaves the surface looking brighter and often easier to dry.
- Foam cannon friendly – Works well for RV owners who rely on foam tools for big surfaces.
- Pairs well with maintenance products – Great as step one in a “wash + protect” routine.
Good to know
- Not a standalone coating—think of it as maintenance support, not primary protection.
- For best results, follow with a booster or sealant layer after washing.
- Any soap can spot if you wash in sun and let it dry; rinse and dry smartly on RV panels.
Ideal for: RV owners who wash regularly and want a soap that supports gloss and hydrophobic behavior, making drying faster and maintenance easier.
How RV Ceramic Protection Actually Works (and Why Prep Beats Product)
If you understand this section, you’ll never waste money on the wrong product again. Because the “magic” of ceramic protection isn’t magic—it’s surface science plus good technique. On RVs, that matters more than cars because your surface area is massive and your materials are mixed.
What “ceramic” means in RV terms
- It’s a protective film – Ceramic and graphene products create a thin layer that changes how your surface interacts with water, dirt, and chemicals.
- It reduces bonding – Grime still lands, but it doesn’t bite as hard. That’s why bugs wipe off easier and road film rinses off faster.
- It increases slickness – Slickness is not just “fun.” It reduces towel drag, which reduces wash-induced scratching over time.
- It changes water behavior – Beading and sheeting make rinsing easier, but they don’t eliminate water spots in hard water (spots are minerals, not water).
On RVs, the best real-world outcome is not “my rig is bulletproof.” It’s “my rig stays cleaner longer, and I don’t have to scrub like a maniac.” That’s what good ceramic protection delivers when your prep is right.
Why prep beats product on an RV
- Oxidation is the gloss killer – Coating over oxidation gives you “sealed dullness.” A light polish on oxidized gel coat can change everything.
- Contamination causes streaks – Road film, old wax, and embedded grit make products smear and haze. Clean surfaces wipe clear.
- Decals punish over-application – A thin coat wipes clean; a thick coat traps residue at edges and looks cloudy in sunlight.
- Heat changes chemistry – Hot panels flash faster and streak easier. That’s why shade and panel-by-panel strategy matter.
If you do one thing differently after reading this guide, do this: control variables. Work in shade, keep panels cool, use clean towels, apply thinly, and inspect your wipe-down under angled light. That’s how you get a professional-looking result on a rig that’s too big to “perfect” in one day.
How to build a smart RV protection “system”
- Foundation layer: Use a true coating (Adam’s UV, CLEAN., Hatinix) or a strong spray coating (Adam’s Advanced Spray) when you have time.
- Fast maintenance layer: Use a booster or bead maker (Graphene Boost, Bead It Up, TEC582) for slickness refresh.
- Touchless option: Use a rinse-off product (303 Touchless or Swift foam wax) when time is tight or for roof/wheels.
- Wash support: Use a coating-friendly wash soap (HydroSuds) to keep the surface clean without stripping protection.
This system approach is why experienced RV owners look like they “detail all the time” even when they don’t. They just maintain intelligently.
The fastest way to avoid streaks and haze
- Use less product – Most streaking is over-application. Thin layers wipe clearer and bond better.
- Two-towel method – Spread with one towel, buff with another. Rotate towels before they load up.
- Panel-by-panel mindset – Don’t spray the whole side and then try to buff; you’ll lose control of flash time and residue.
- Inspect at an angle – Sunlight at a low angle reveals high spots and smears early—fix them immediately.
When your technique is right, these products stop feeling “fussy” and start feeling like cheat codes.
FAQ: RV Ceramic Coating (Without the Confusion)
Are spray ceramic products “real ceramic coatings” for an RV?
Can I ceramic coat RV decals and graphics?
What’s the easiest option if I have a huge fifth wheel or motorhome?
How do I avoid water spots after coating?
Do I need a clay bar or polish before using these products?
What should I buy if I want the most “professional looking” result?
Is a ceramic wash soap worth it?
Final Thoughts: Pick the System That Makes You Actually Maintain Your RV
The RV that stays glossy is not owned by the person with the most time. It’s owned by the person with the most repeatable system. If a product is “amazing” but annoying, you won’t use it. If it’s easy and rewarding, you’ll maintain it—and that’s what creates long-term protection.
Here’s how to translate this guide into a confident purchase, fast:
- Want the best overall foundation coating for RVs (with a “never miss a spot” advantage)? Start with Adam’s Polishes UV Graphene Ceramic Coating. The UV tracing concept is a real advantage on huge RV panels where coverage mistakes are common.
- Want a true coating that feels approachable as a first DIY coating? Go for CLEAN. Ceramic Coating 3‑Year. It’s built for people who want a clean result without “coating panic.”
- Need a “revival” coating for older paint or gel coat? Try Hatinix 20H Graphene Ceramic Coating for a strong gloss transformation and slick feel when your rig needs visual redemption.
- Have a huge rig and want bulk coverage that makes sense? Choose Presta Hydro Protek (1 Gallon) for big-surface practicality and easier maintenance.
- Want the fastest possible “I can do this anywhere” protection layer? Use 303 Touchless Sealant or Swift Touchless Ceramic Foamable Wax for touchless, rinse-friendly maintenance—especially useful on roofs and wheels.
- Want your rig to “feel coated again” without redoing everything? Maintain with Adam’s Graphene Boost, 3D Bead It Up, or TEC582 for fast slickness and gloss refresh.
- Want an easy “kit” that supports better technique? The Adam’s Advanced Graphene Ceramic Spray Coating Kit is a clean workflow choice if you want prep + protection + maintenance in one package.
- Want a better wash routine that supports protection? Use Chemical Guys HydroSuds as your ceramic-friendly wash step, then follow with your maintenance layer.
If you remember one thing, remember this: the best rv ceramic coating is the one you can apply correctly and maintain consistently. Pick a foundation layer that matches your patience and workspace, then keep it alive with an easy maintenance product. That’s how you get a glossy, easy-to-wash rig that looks “fresh” trip after trip—without needing a pro detailer every season.