
Our readers keep the lights on and the garage heater humming. As an Amazon Associate, I earn from qualifying purchases.
Specs are compiled from manufacturer listings and verified buyer reviews and can change over time — please confirm the key details on the product page before buying.
The right wax or restoration kit restores crystal clarity in an afternoon, and most options here skip the drill and professional help.
I’m Mo Maruf — the founder and writer behind GoCarLife. This guide is built by comparing the manufacturers’ published specifications and the patterns across verified customer reviews, so you get each pick’s real strengths and trade-offs instead of marketing spin.
Your headlights are foggy, and you want them clear again—but the right wax for car headlights depends on how much time and elbow grease you are willing to invest. A heavy-duty sanding kit removes deep damage, while a simple wipe-on coating handles light haze.
Our Picks at a Glance

How To Choose The Best Wax for Car Headlights
Picking the right product depends on one question: how bad are your lenses? A light haze responds well to a simple polish and protectant. Heavily yellowed or oxidized plastic usually needs a sanding kit to physically remove the damaged layer—so you get a clear view at night without glare.
Match the product to your lens condition
If your headlights are only slightly foggy, a one-step liquid like Chemical Guys works fast with minimal effort. For severe yellowing or pitting, a kit with sanding discs (500, 800, and 3000 grit) like the 3M Ultra is necessary to grind down to clear plastic.
Don’t skip the UV protection coat
The final step in any restoration locks in your work and prevents fading. A ceramic or UV-blocking clear coat seals the lens against sun damage and oxidation. Without it, your newly clear headlights can re-yellow within months.
Consider your effort and tools
Some kits require a common household drill and take up to 40 minutes per light. Others are wipe-on, wipe-off formulas that take minutes with zero power tools. Be honest about your patience — a professional-grade sanding kit only delivers if you follow through.
Quick Comparison
| Model | Best For | Process | Coverage | UV Protection | Amazon |
|---|---|---|---|---|---|
| 3M Ultra Kit★ Best Overall | Heavy restoration | Sanding + Clear Coat | 2 Kits (Multi-car) | Yes | Amazon |
| BEAM BRIGHTBest No-Drill | Beginners, no tools | 3-Step Wipes | 1-2 Cars | Yes (Ceramic) | Amazon |
| POLIWELLTop Performer | Drill-based DIY | 3-Step (Drill) | 2 Lenses (24 Pcs) | Yes (UV Block) | Amazon |
| ROYWOO Liquid | Chemical repair | Liquid Application | 600ml | No | Amazon |
| Chemical Guys | Quick clean-up | All-in-One Polish | 16 oz | Yes | Amazon |
| 3D GLW Series | Light haze, no tools | 2-Step | 8 oz | Yes (UV Inhibitors) | Amazon |
| Gliptone | Chemical, no sanding | 2-Step Chemical | 4 Headlights | Yes (UV Clear Coat) | Amazon |
| VCTSELITY Vapor | Professional-grade | Atomizing Vapor | 200ml + Tool | Yes | Amazon |
| Cerakote Pro Pack | Detailing pros | Ceramic Wipes | 20 Wipes (10 Cars) | Yes (Ceramic) | Amazon |
In‑Depth Reviews
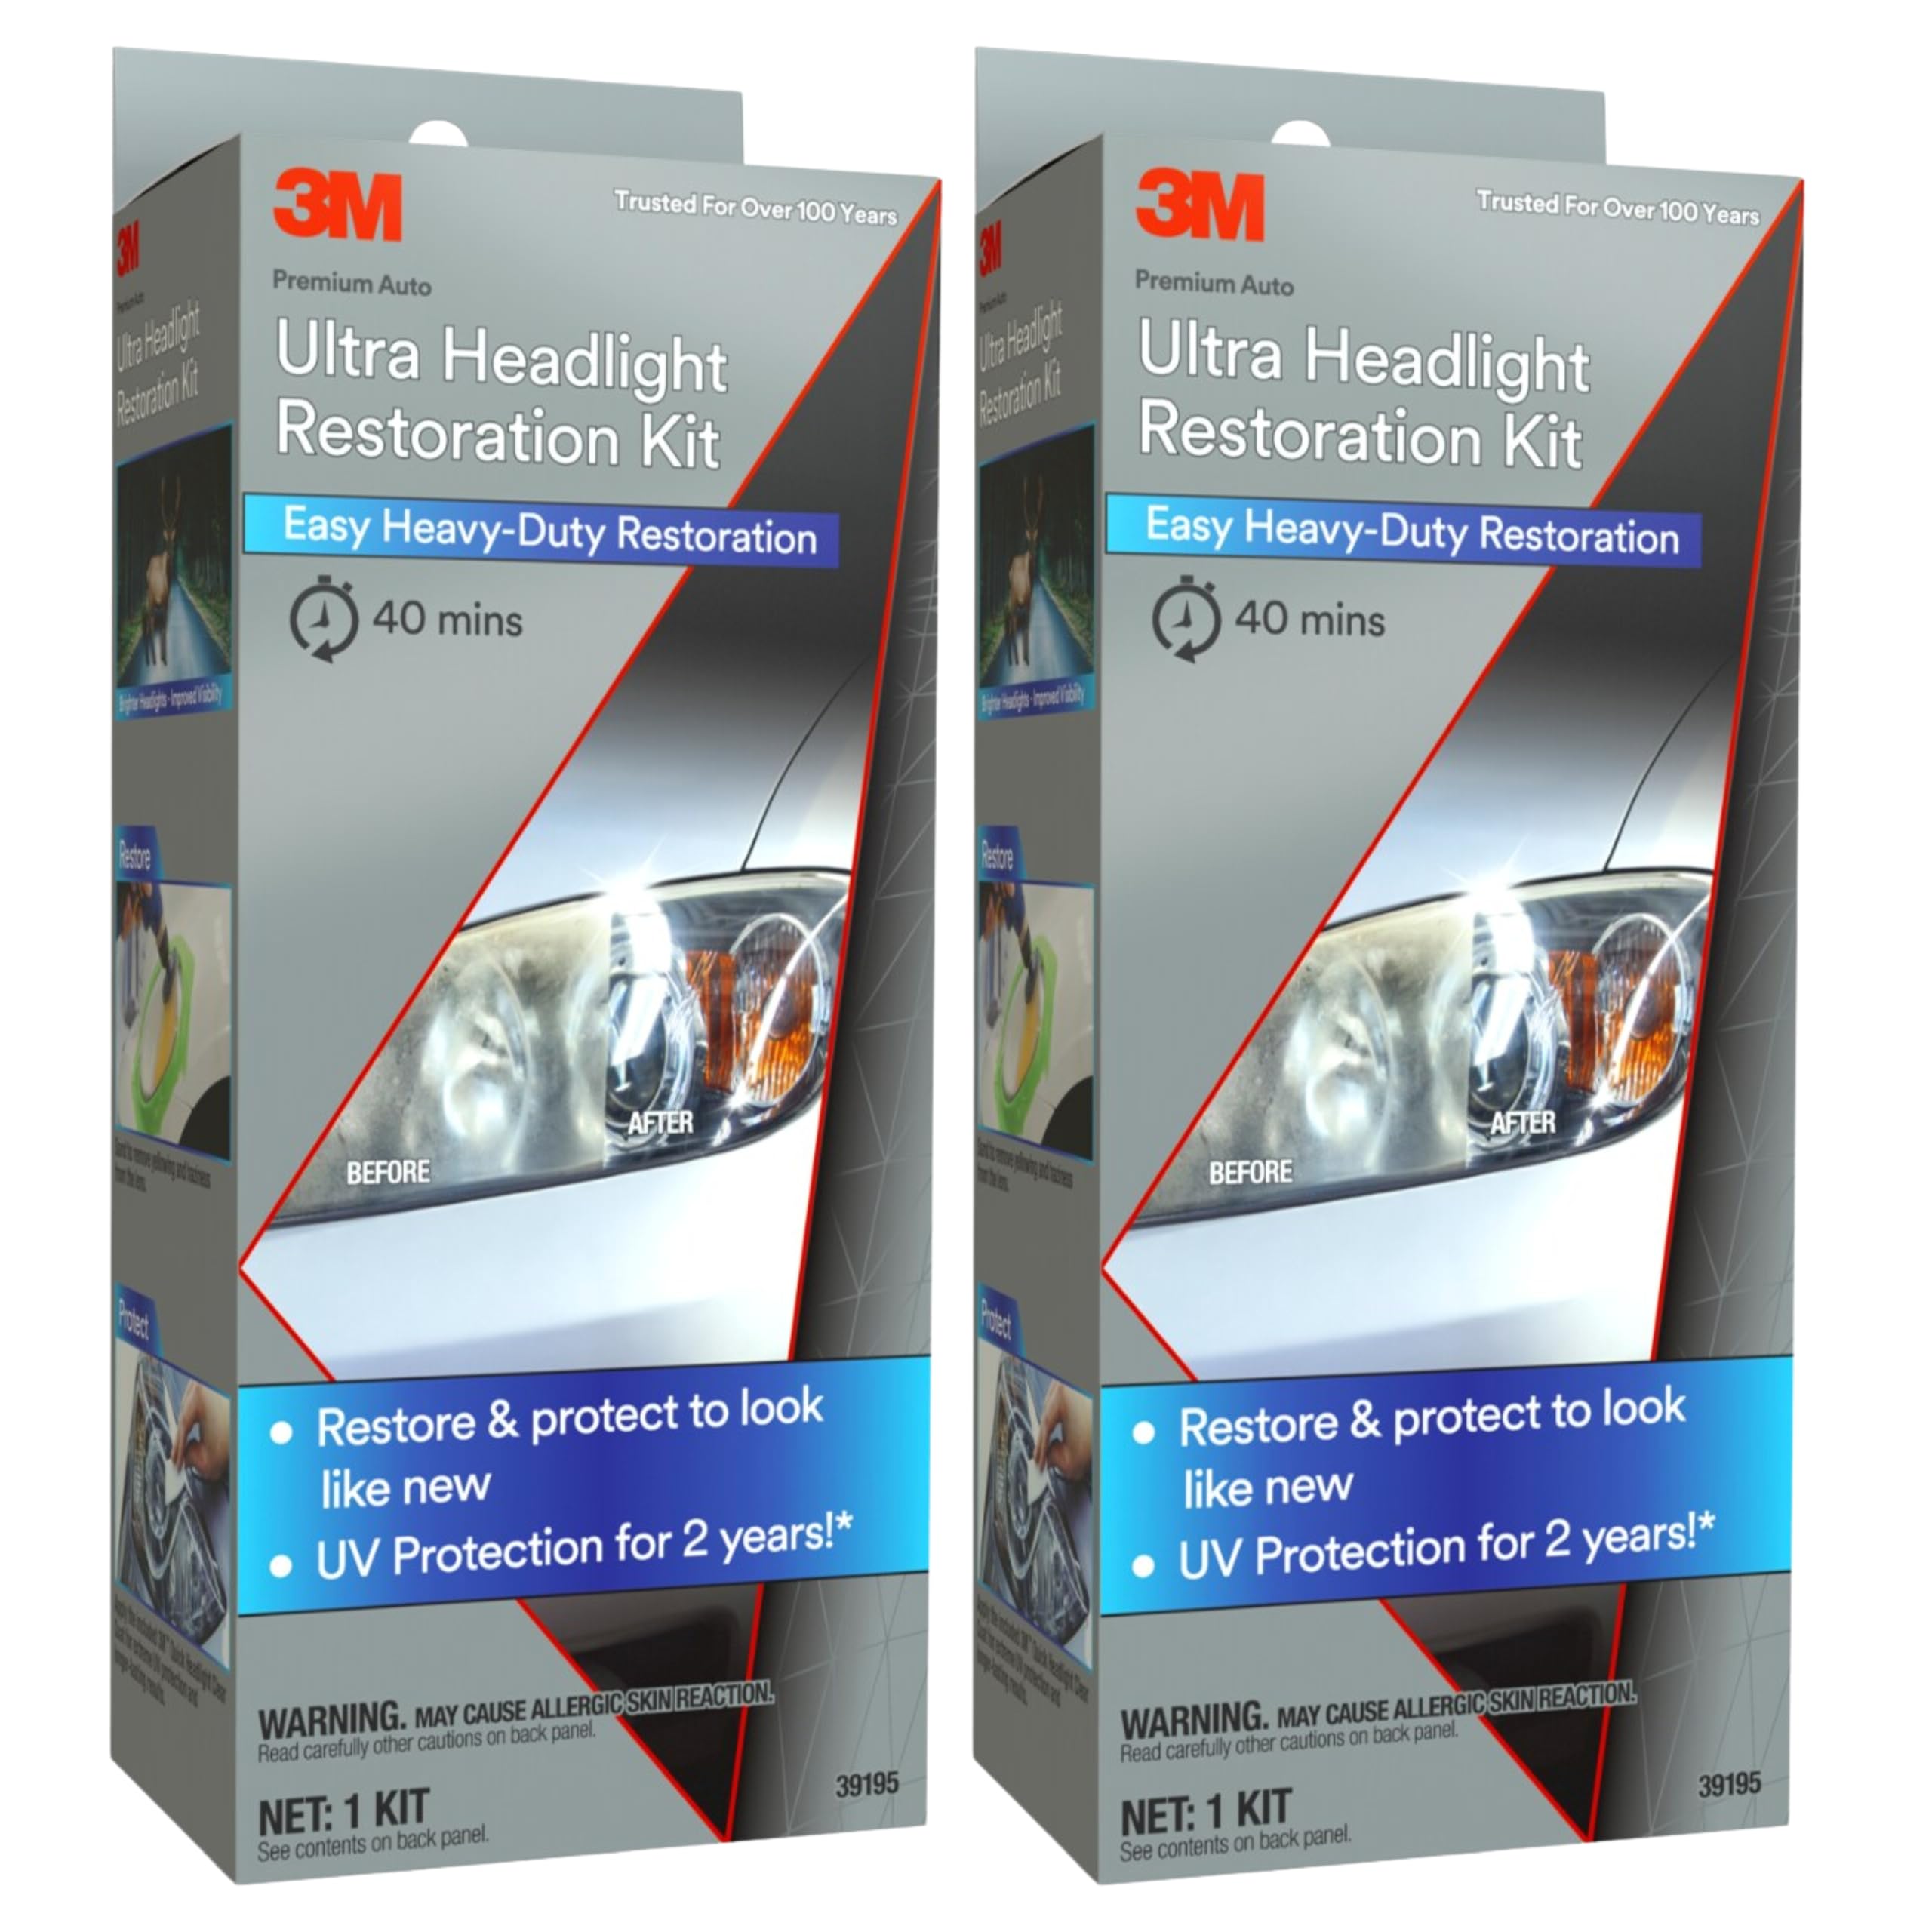
1. 3M Ultra Headlight Restoration Kit 39195, 2 Pack
Our pick — over 4.5★ from 16,000+ verified ratings; the strongest balance of quality and price.
The heavy-lifting sanding kit that erases years of yellowing, with a second kit to spare.
This is the restoration workhorse. Inside each kit you get a disc pad holder, six 500-grit discs, four 800-grit discs, one 3000-grit refining disc, and two Quick Headlight Clear Coats. That grit progression grinds away heavy oxidation, then smooths and seals the lens back to clarity. The kit is heavier too — 11.64 ounces — because it’s packed with discs and coatings for serious work.
The real-world reports are striking: a 13-year-old cloudy pair came back “near-new” after about 40 minutes of work, and a heavily yellowed 2006 Trailblazer went from roughly 25% light output to near-clear. Effectiveness is the thing owners praise most — well over 2,000 buyers single it out. It is less expensive than replacing your headlights, and the step-by-step directions plus masking tape make a daunting job feel doable. You can use it with a common household drill, which is not included.
The catch is effort. This is not a quick wipe-on fix; expect 15 to 40 minutes per light. One owner noted the final sandpaper disc wore out after the first headlight, yet still finished the job. A few buyers also saw a white haze rather than perfect clarity, so heavily pitted lenses may need extra passes.
heavy-duty abrasive power
- Restores even badly yellowed lenses to near-new clarity
- Two complete kits let you do multiple vehicles
- Clear coat included to protect your work
needs drill and patience
- Takes over 40 minutes per headlight pair
- Final grit disc can wear down fast
- Some lenses may need repeated sanding passes
grab it if: you have heavily yellowed plastic lenses and want a proven, thorough fix.
think twice if: you only have light haze and want a 5-minute polish instead of a sanding session.
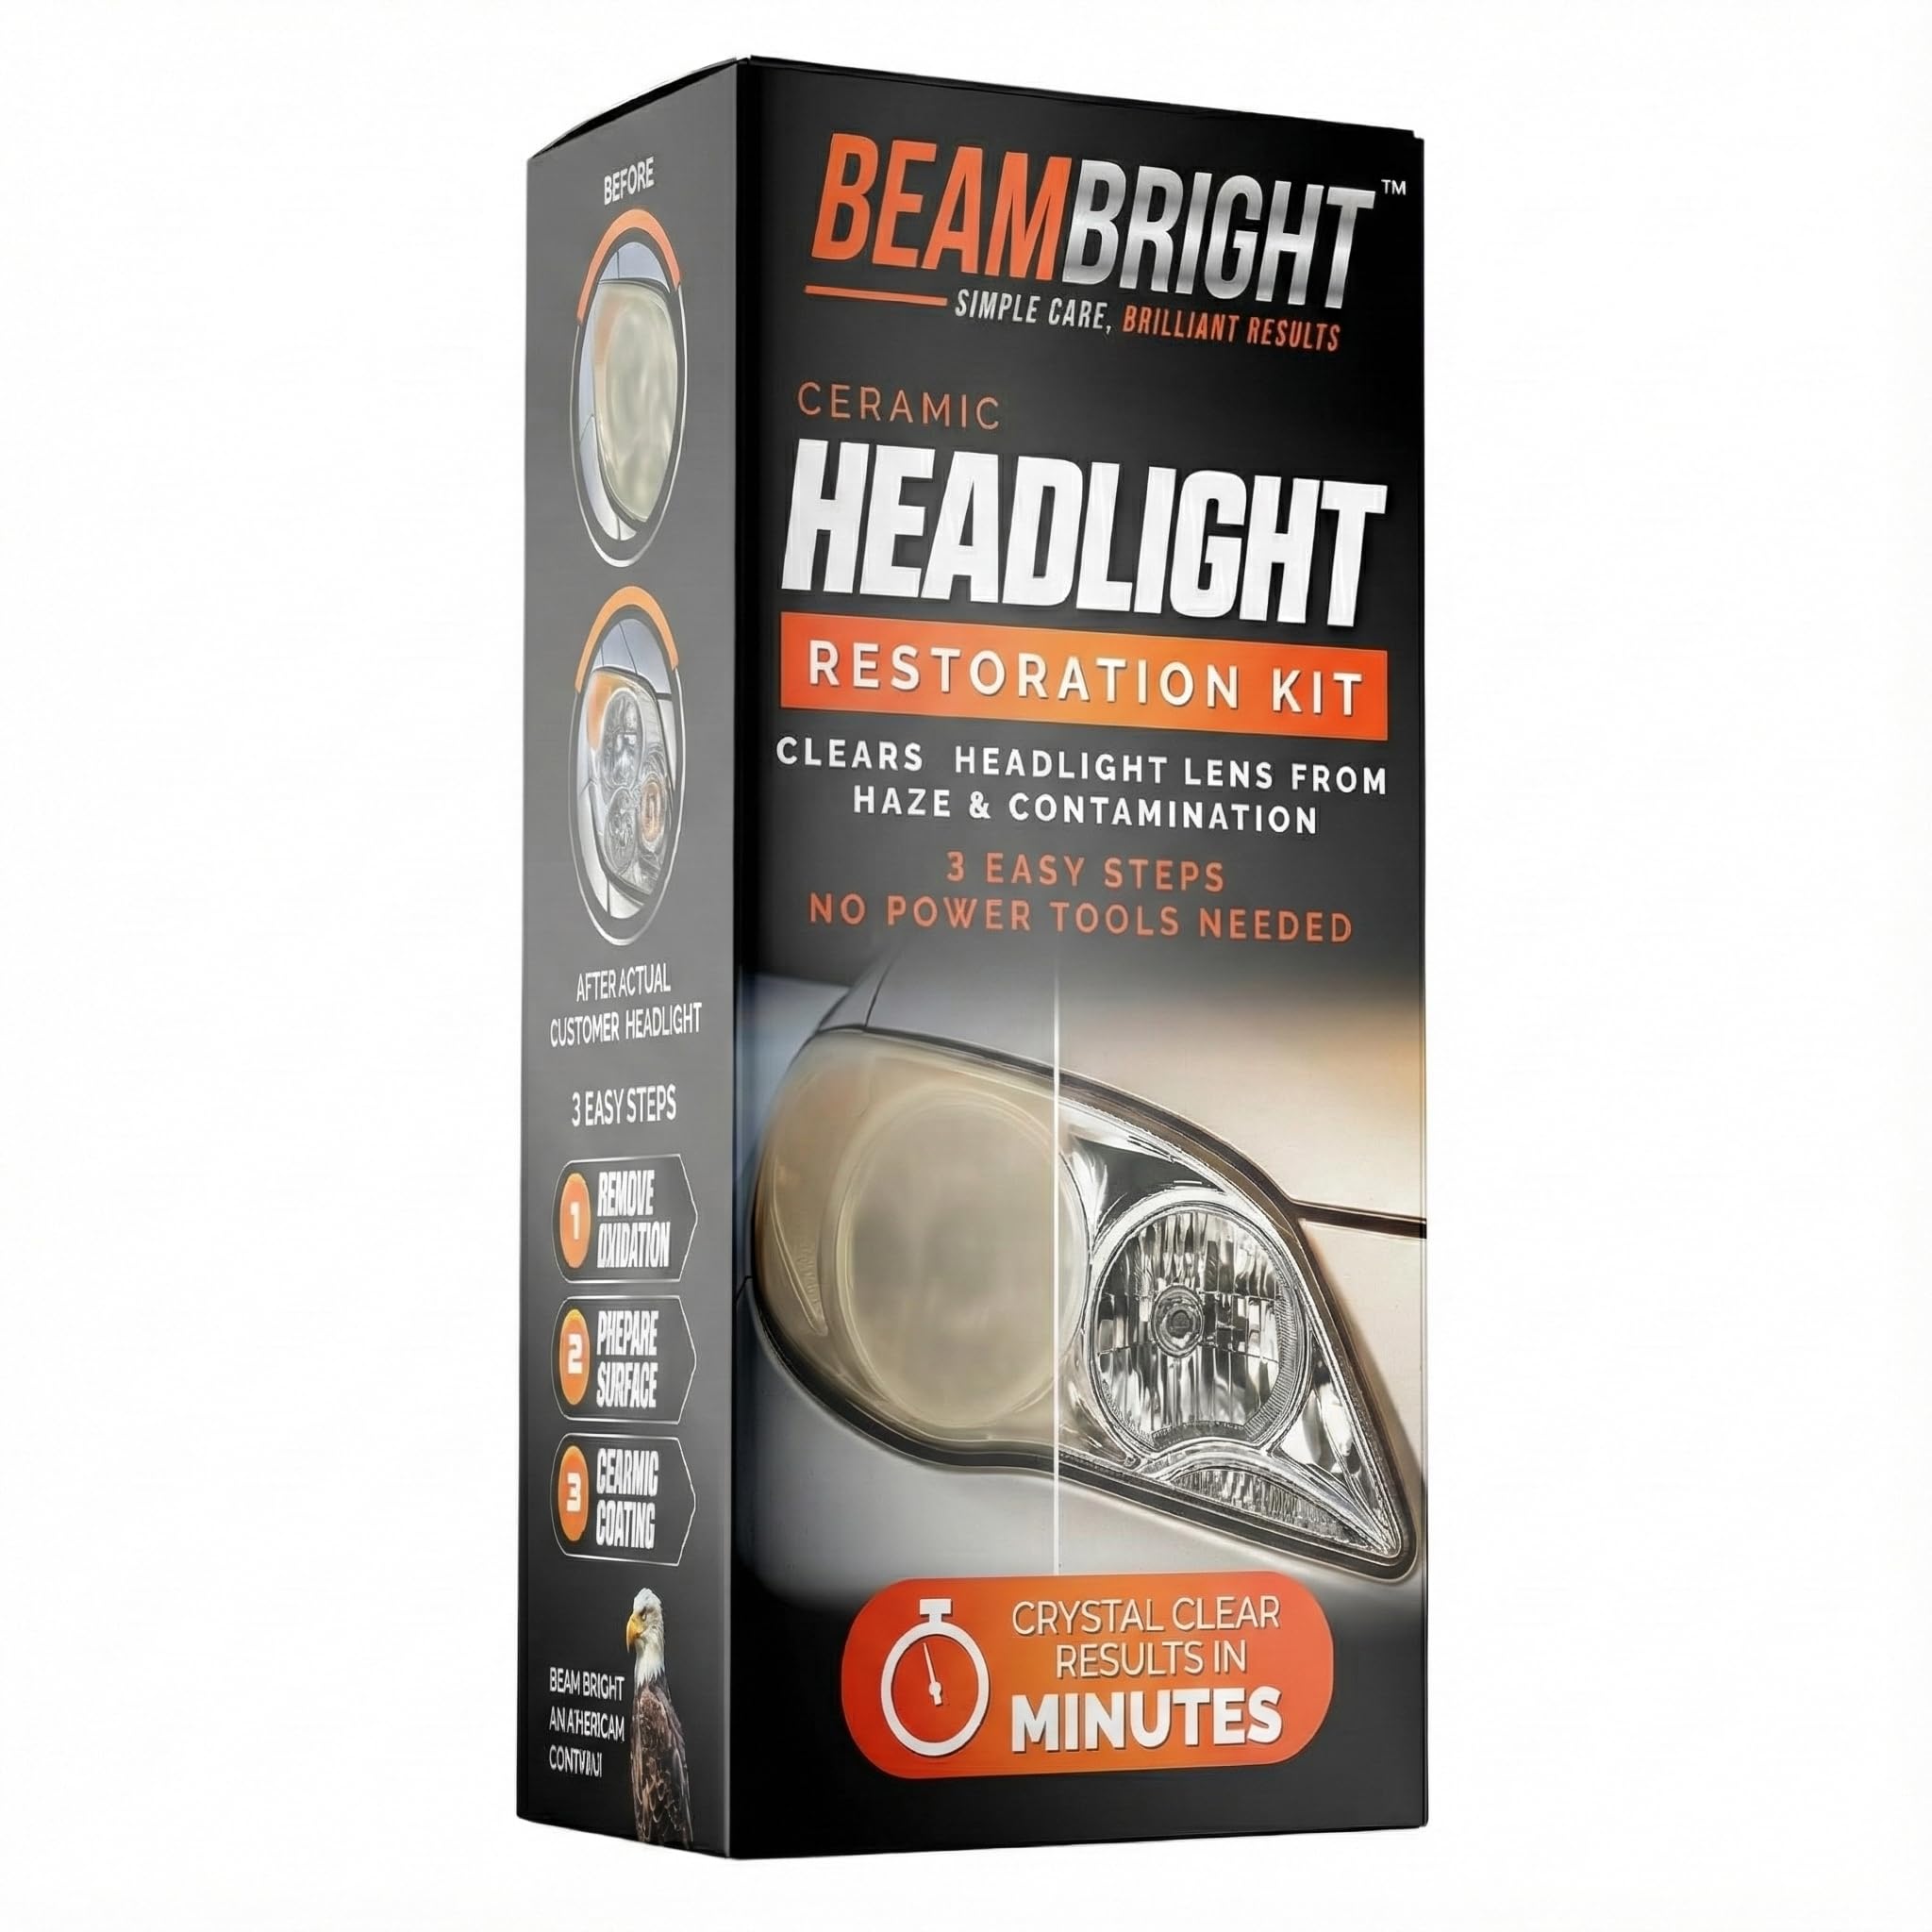
2. BEAM BRIGHT Ceramic Headlight Restoration Kit
A tool-free three-step kit that’s packaged for novices and delivers a ceramic-sealed finish.
If the thought of a drill makes you nervous, this is your entry point. The kit runs on a simple wipe-on process: eight oxidation removal wipes to clean, premium sanding discs to prep, then UV ceramic coating wipes to seal. At just 7.8 ounces, it’s the lighter cousin to the 3M Ultra kit — 11.64 ounces — and swaps power tools for a pure hand-applied routine.
First-timers are genuinely shocked by the outcome. One owner wrote, “Wow!! I am shocked at how good this works,” noting the packaging is designed with novices in mind to get maximum results. The ceramic formula locks in clarity and prevents future yellowing and oxidation, so your night visibility stays improved longer. Cleaner, brighter beams are the consistent report from old and new trucks alike.
The honest limitations: very yellowed lenses may need full replacement rather than restoration, and the oxidation wipes run out faster on larger headlights. One buyer warned that letting the solution run onto surrounding plastic trim can stain it, so mask off the area first.
ceramic coating built in: a beginner-friendly routine with a durable ceramic finish, as long as your haze is mild to moderate.
3. POLIWELL Headlight Restoration Kit 24 Pack
A 24-piece drill-powered set that brings heavy haze back to crisp in about 20 minutes per light.
This kit is built for the DIYer who owns a drill and isn’t afraid to use it. The 24 pieces include 800-grit scrubber pads, plus 1000, 3000, and 5000 grit sanding discs — a fine progression that removes scratches and oxidation. A 10-meter roll of masking tape, spray bottle, polishing compound, and UV coating round it out, covering roughly two lenses per pack.
Buyers report fast results, around 20 minutes per light, with aftermarket lenses clearing up nicely. One reviewer noted no re-hazing after two months in direct sun, and a 6-month check-in showed the clarity holding. The UV block coat seals the lens against future fading, which is what makes the results last. “You could hardly tell his lights were on at night. Now they look new,” summed up one impressed owner.
The catch: instructions are printed on the packaging and draw mixed feedback — some find them clear, others don’t. Minor swirls can appear if you cut corners on the grit sequence, and scratch protection is the one aspect buyers flag most.
reach for this if: you want a budget-friendly, drill-driven resto with lasting UV protection.
look elsewhere if: you prefer a no-tools wipe-on formula and don’t want to manage a drill setup.
4. ROYWOO Car Headlight Restoration Liquid 600ml

A liquid pour that flips yellowed lenses to shiny new, and lasts for many applications.
This is the tank of the group — a 600ml bottle that gives you far more product than a typical wipe kit. It’s a dark blue, high-concentration liquid that targets yellowing, blurring, and scratches across motor vehicles, electric vehicles, and motorcycles. For an auto shop or someone with multiple cars, the per-use cost is tough to beat.
The results show clear before-and-afters: a heavily oxidized 2015 GLK 350 went from cloudy and yellow to crisp, and a 20-year-old set of fogged lights came back to life. Owners call it cost-effective, noting it saved them hundreds of dollars versus replacing headlight assemblies. The formula is easy to apply — just wipe it on and buff — though pairing it with a sanding kit boosts the effect on tough lenses.
The honest caveat: this is a chemical treatment, not a physical sanding kit. For serious pitting or deep scratches, you’ll need extra prep. Also, the manufacturer warns against use by children or pregnant women and says to store it in the original bottle away from sun.
liquid easy application: a cost-effective liquid that fixes yellowing and blur, ideal for shops and multi-car households.
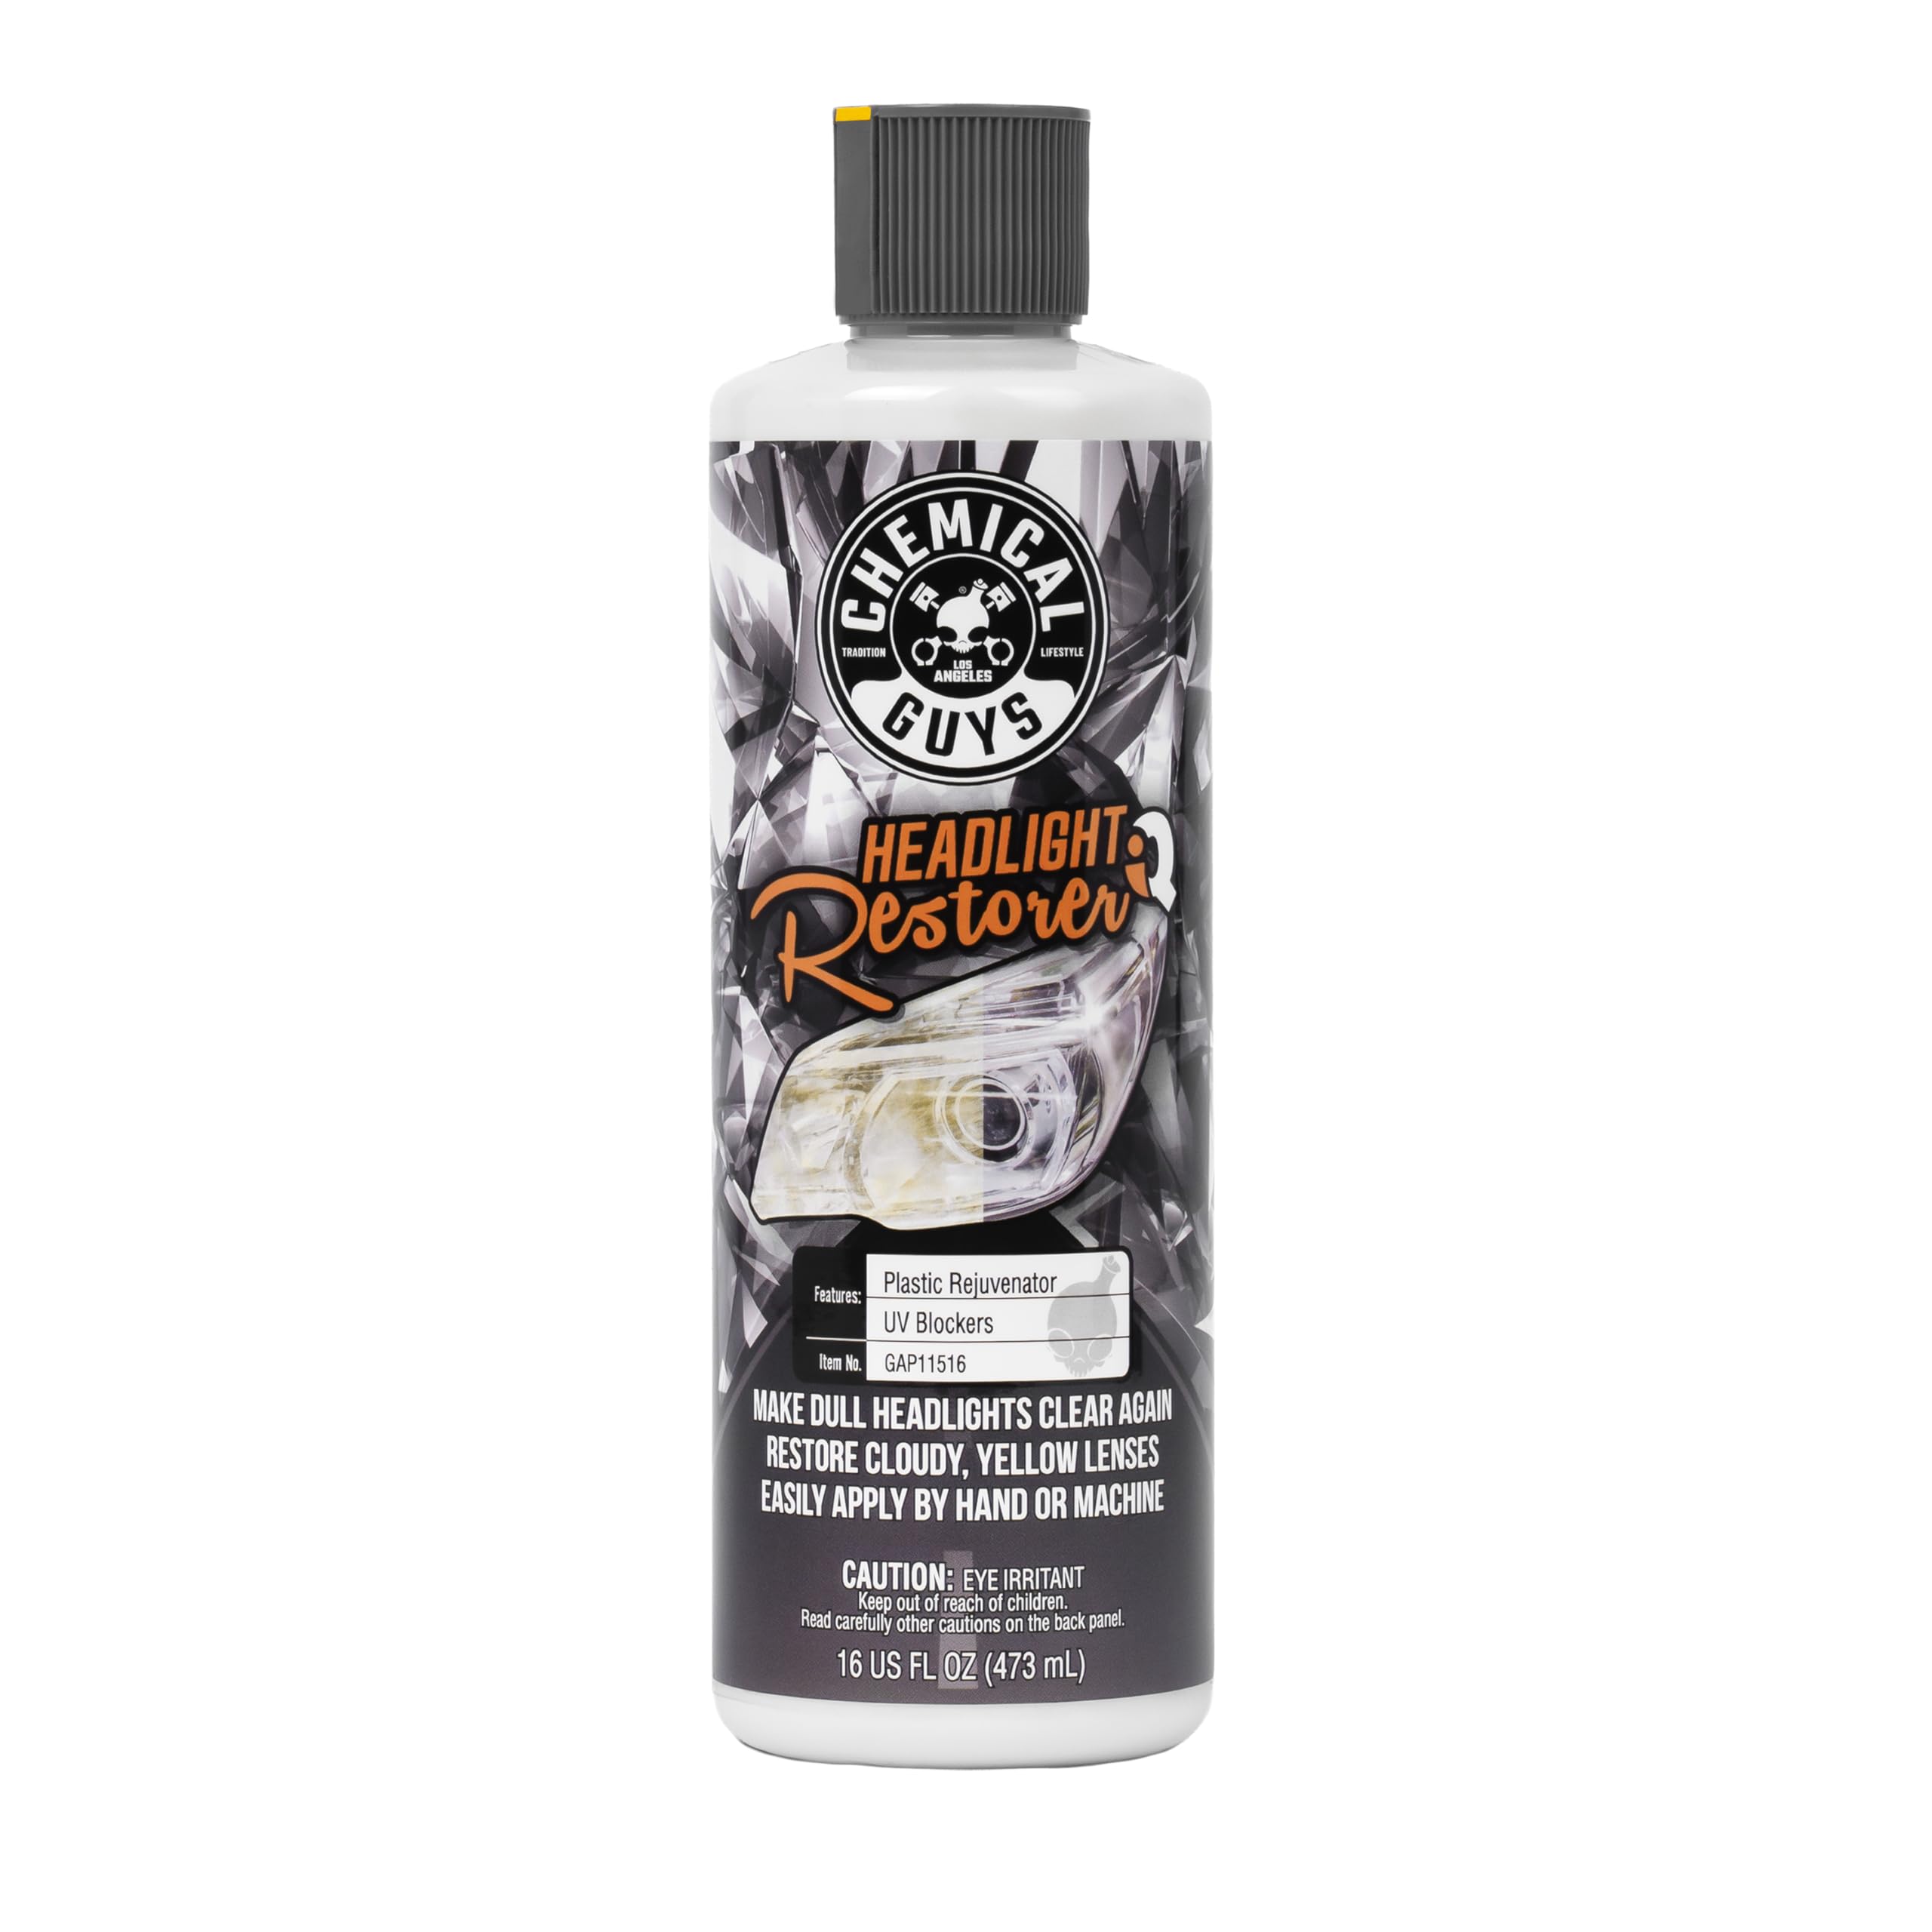
5. Chemical Guys Headlight Restore & Protect, 16 oz
A single-bottle polish and seal that clears haze with barely any elbow grease.
Sometimes you don’t need a full restoration sanding—you just need the fog gone. This 16 oz all-in-one formula cleans, restores, and protects plastic headlights, removing yellowing, oxidation, and embedded dirt. Applied by hand or with a machine using a foam or microfiber pad, it buffs to a crisp finish in minutes, so your lenses look new without hours of work.
The reviews tell a story of pleasant surprises. Owners mention a set of heavily fogged Jeep headlights came back clear after another brand had failed, and a 1967 boat windshield cleared right up “with very minimal elbow grease.” The protective coating guards against future fading and discoloration, and owners reported it held up for weeks without re-yellowing. It works on headlights, taillights, fog lights, and turn signals, on both OEM and aftermarket lenses—so you can use it on multiple parts of your car.
The trade-off: it’s a polish, not a grinder. For deep pitting or years of heavy oxidation, you’ll want the sanding kits above. One owner noted the bottle seal is tough to remove — a knife helps. And while it clears haze nicely, a dedicated ceramic coat will outlast it for long-term protection.
pick this for: a fast, low-effort clarity boost and weather seal on mildly foggy lenses.
skip it if: your lenses are severely yellowed and need aggressive sanding to come back.
6. 3D GLW Series Headlight Restore, 8 oz

A simple two-step polish for light haze, with built-in UV inhibitors to delay re-yellowing.
This 8 oz kit takes a no-power-tools approach with a two-step process: restore, then protect. The formula includes UV inhibitors to shield your lenses from sun damage, keeping them looking fresh longer. It’s marketed for weekend warriors and first-time DIYers, and the ease of use is what owners consistently appreciate.
Used on lightly hazed or yellowed lenses, it brings back a professional finish—one owner runs a headlight restoration business and swears by it for the “professional finish that I am looking for.” Another notes it’s economical, since a little product goes a long way when paired with a 2-3 inch DA polisher and a good pad. It’s a solid mid-range choice for maintenance, not rescue—so if your lenses are deeply pitted or severely oxidized, you’ll need a sanding kit instead.
The honest reality: effectiveness gets mixed feedback. It works well on light haze but struggles with severely damaged lenses that truly need sanding. One buyer used a drill and sponge pad and still saw dullness — expect it to handle mild fog, not deep scratches. Proper lens prep is non-negotiable for good results.
gentle daily upkeep: a user-friendly two-step that protects against UV, best on mildly hazed lenses.
7. Gliptone Headlight Restoration Kit

A chemical-only 2-step process that restores four headlights without any sanding or tools.
This 7-piece kit is pure chemistry — no drill, no sandpaper, no extra tools. It uses a polycarbonate-safe chemical formula to remove oxidation and yellowing, then applies a durable UV-resistant clear coat to prevent future fading. The kit covers up to four headlights, which means two full sets or a spare for later.
The appeal is speed. One owner noted the application takes less than 15 minutes per light, and a 2017 Subaru with severely yellowed lenses came back clear with some elbow grease. The clear coat is a big plus for preserving your work. “These TV offers never work. Or so I thought, until I actually tried it,” one owner wrote, surprised at clearing both cars with one kit.
The catch: results are effort-dependent. One buyer spent 20 minutes scrubbing and still couldn’t clear the lenses fully. It works well on oxidation but may not fully remove deep scratches. Follow the instructions and reapply the cleaner as it dries for the best outcome.
ideal for: anyone who wants a tool-free chemical restoration that spans four lights.
not for: heavily scratched lenses that truly need abrasive sanding to flatten.
8. VCTSELITY Atomizing Cup Headlight Restoration Kit

A heated vapor applicator that sprays on a flawless clear coat for that pro-level finish.
This is the outlier — a professional-grade tool that uses an atomizing cup to vaporize 200ml of repair liquid onto your lens. The kit includes a coated steel cup, six kinds of sandpaper, a 110V power supply, a car power supply, and a storage box. It’s designed to restore severely oxidized and yellowed headlights without removing them or using an oven.
The vapor method applies an even, high-adhesion clear coat that owners say looks brand new. It restores a 21-year-old car’s lights to near-new clarity and works on European cars like Mercedes and Range Rovers. The dual power sources — home and car — mean you can use it anywhere. One owner called it a “must have” that leaves lights “bright and looking brand new.”
The learning curve is real. The atomizer cup heats liquid quickly, so handle it carefully to avoid burns, and don’t overfill past 50ml or heating slows down. Manual sanding takes more time than expected on some cars, and a strong breeze can disrupt application, so work in a sheltered spot.
atomizer spray precision: precision vapor coating with pro results, at the cost of a steeper learning curve.
9. CERAKOTE Ceramic Headlight Restoration Professional Detailer Pack

A professional refill of 20 ceramic wipes that seals in clarity for the lifetime of your vehicle.
This is the final step, perfected. The Cerakote Pro Pack contains 20 individual Step 3 Ceramic Clear Coat wipes — the sealing layer applied after you’ve already sanded or cleaned the lens. It’s designed for detailing pros and car lots that need quick access to multiple applications, covering up to 10 vehicles per pack.
The inorganic ceramic technology blocks surface oxidation for the lifetime of your vehicle, which is why owners call it the essential finishing touch. After prepping the lens with your preferred sanding method, the ceramic application takes just minutes and cures in hours. One long-time restorer said it “takes my efforts and brings everything to a perfect finish with a quality and durable finish.”
The catch: this pack includes only the Step 3 wipes, so you’ll need your own oxidation remover and sanding materials. The wipes can start to dry during use, so work one lens at a time. Prep still takes about 10 minutes per headlight with wet sandpaper from 800 to 2000 grit.
perfect for: professionals or repeat DIYers who already have a sanding method and need a superior UV sealant.
pass on it if: you want a complete all-in-one kit without adding your own prep supplies.
Understanding the Specs
Grit and Sanding Discs
Grit numbers tell you how coarse the sandpaper is. Lower numbers (500, 800) are aggressive — they cut away heavy yellowing and oxidation quickly. Higher numbers (3000, 5000) are fine polishers that smooth the surface to a clear shine. A good kit walks you from coarse to fine so you remove damage without leaving scratches.
UV Protection and Clear Coats
The protective final layer is what makes your restoration last. UV inhibitors block the sun’s rays that cause plastic to yellow and oxidize in the first place. Ceramic and clear poly coatings form a physical barrier against moisture and road grime. A kit without a sealing step will fade much faster in sunlight.
FAQ
How often should you wax or restore car headlights?
What’s the difference between a headlight restoration kit and a wax?
Do you need a drill to restore headlights?
Can you use these products on taillights and fog lights?
Why do headlights turn yellow in the first place?
Will headlight restoration fix deep scratches and cracks?
How long does the clarity last after using a wax or kit?
Is it safe to use headlight restoration liquid on a new car?
Final Thoughts: The Verdict
For the majority of shoppers, the clear winner is the 3M Ultra Headlight Restoration Kit because it tackles the toughest job with a proven, complete system and the crowd — over 16,000 owners — backs it up. If you want a fast, no-drill, ceramic-sealed refresh, grab the BEAM BRIGHT kit. And for the professional-grade finishing touch or bulk detailing, the Cerakote Pro Pack is the one to reach for.
How We Picked
We do not accept paid placement. Every pick is matched to a real buyer and a real use-case; we do not hands-on test units.
Sources & Methodology
Specifications: manufacturer listings and product documentation. Review insights: verified customer reviews, as of August 2026. Pricing: not shown on this page (it changes often); check the current price via the retailer link.
As an Amazon Associate, GoCarLife earns from qualifying purchases. This does not affect which products we feature.